From the Site Record
Within the LH menu, click the 'Purchasing' button to open the Purchase Orders summary for that site. A purchase order linked to a site record can have any supplier. I.E. when you raise a PO from a site record, the PO will ask you which supplier you are purchasing from.
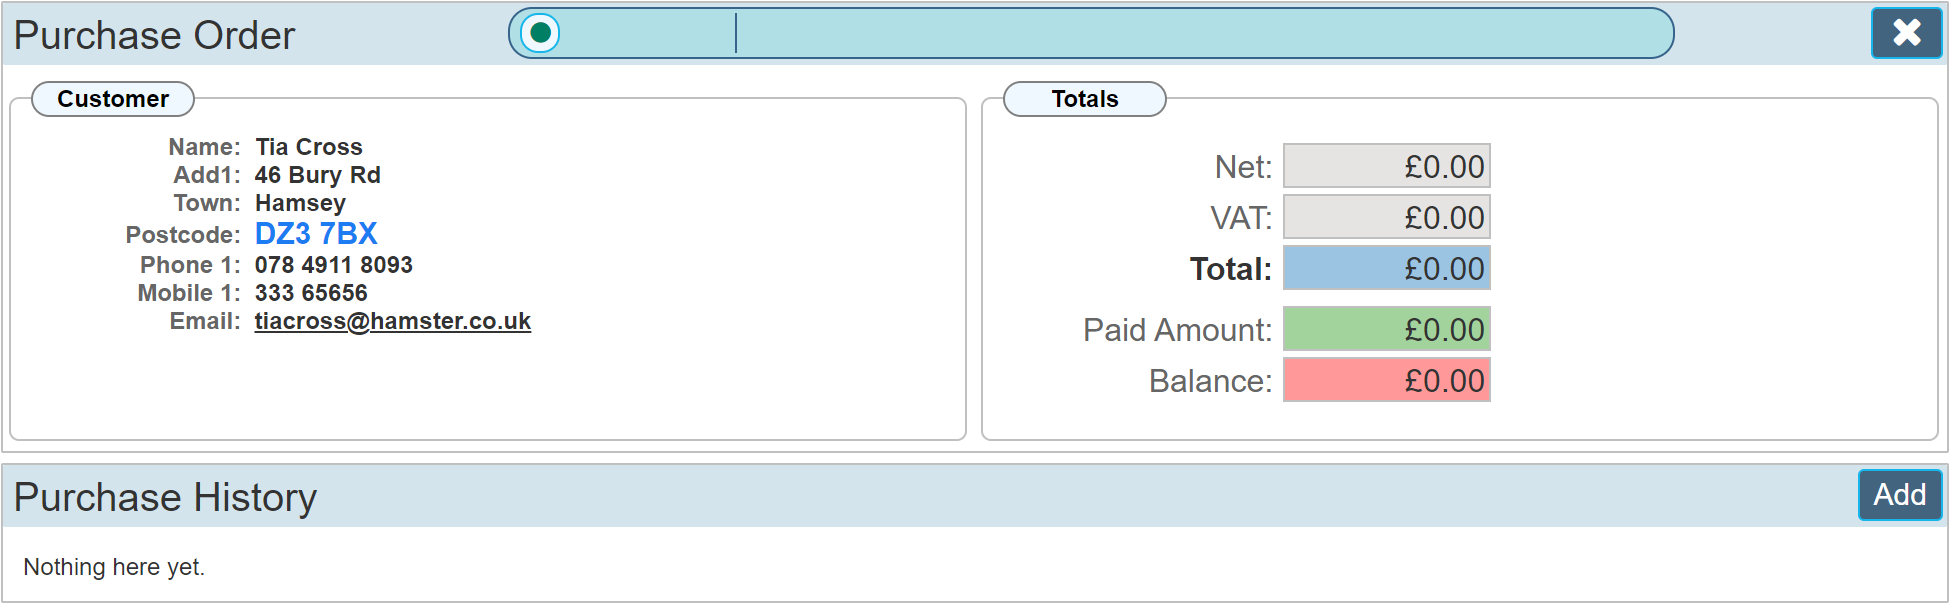
Click 'Add' to open a new PO.
From a Site Record Job Ticket
These PO's are exactly the same as those linked to the site, but in addition, they are also linked to the job ticket the PO was raised from. Click the 'Purchase Orders' tab shown in the LH menu whilst in a Job Ticket'. this will show any PO's that are already linked to the Job Ticket that is currently open, otherwise it will be empty.
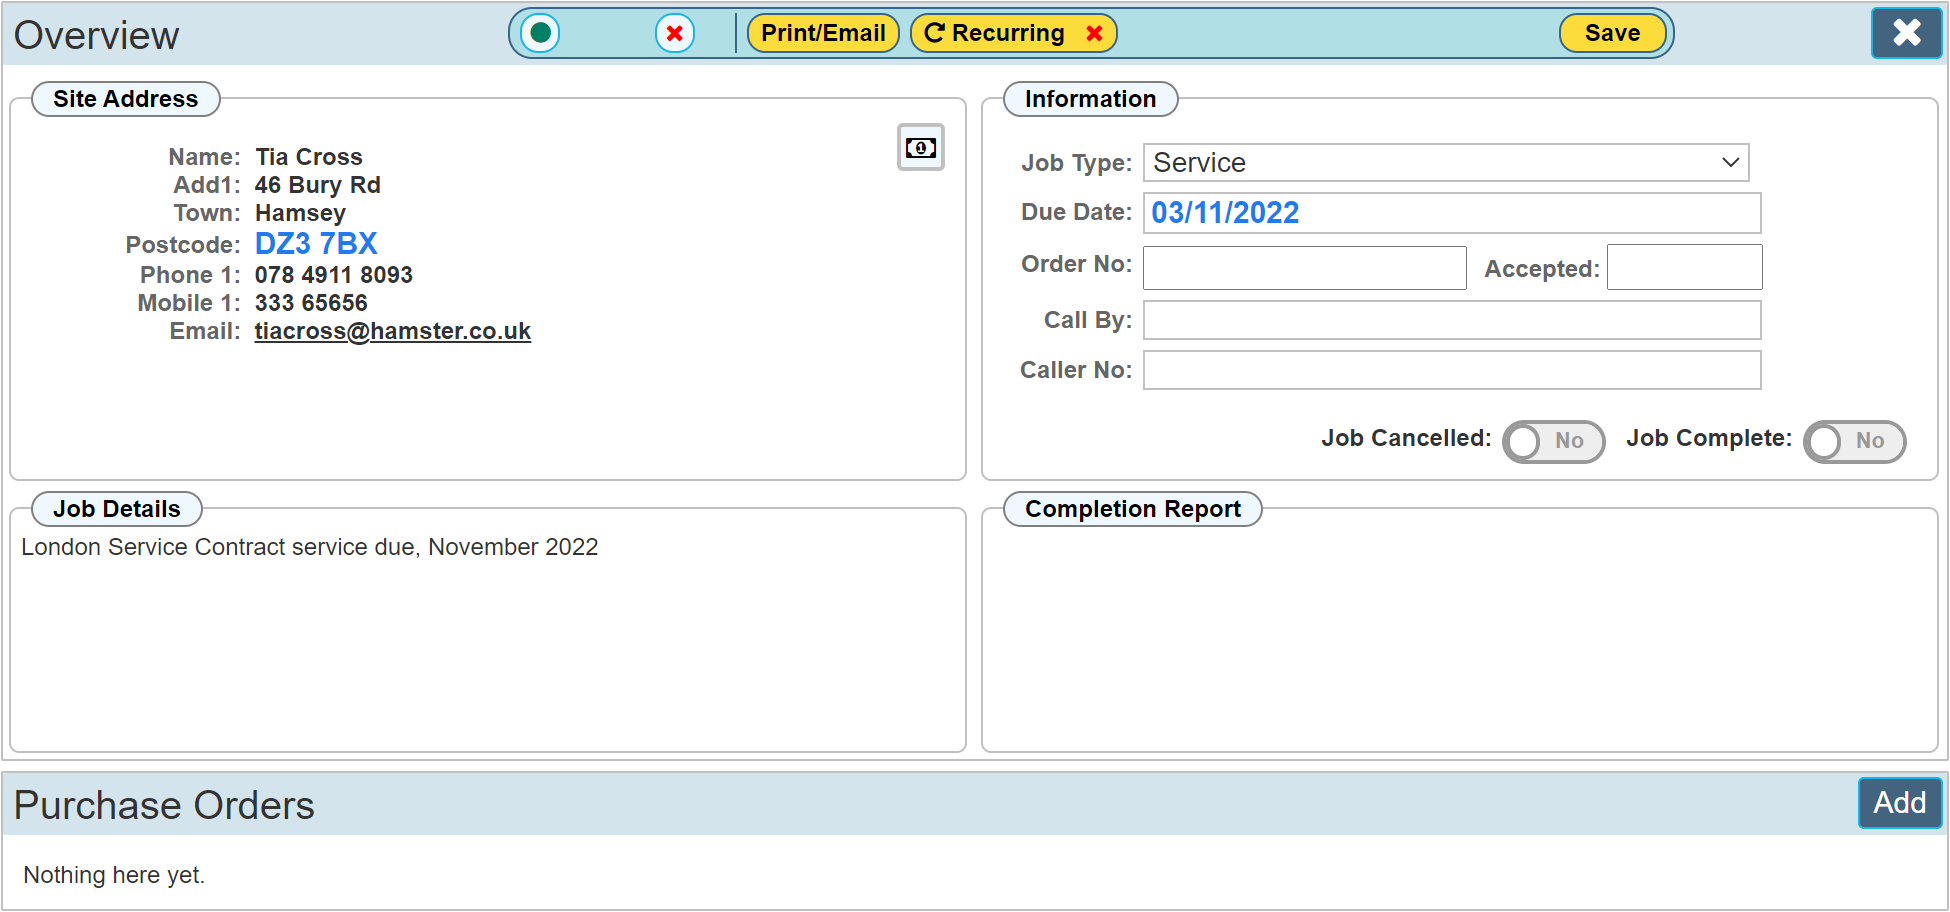
Click add to open a Purchase Order.
From a Company Record
Similar to the site record, click the 'Purchasing' button shown in the LH menu. When opening a PO from a Company Record, the supplier is already set to that company. I.E. the company record you are in is the supplier.
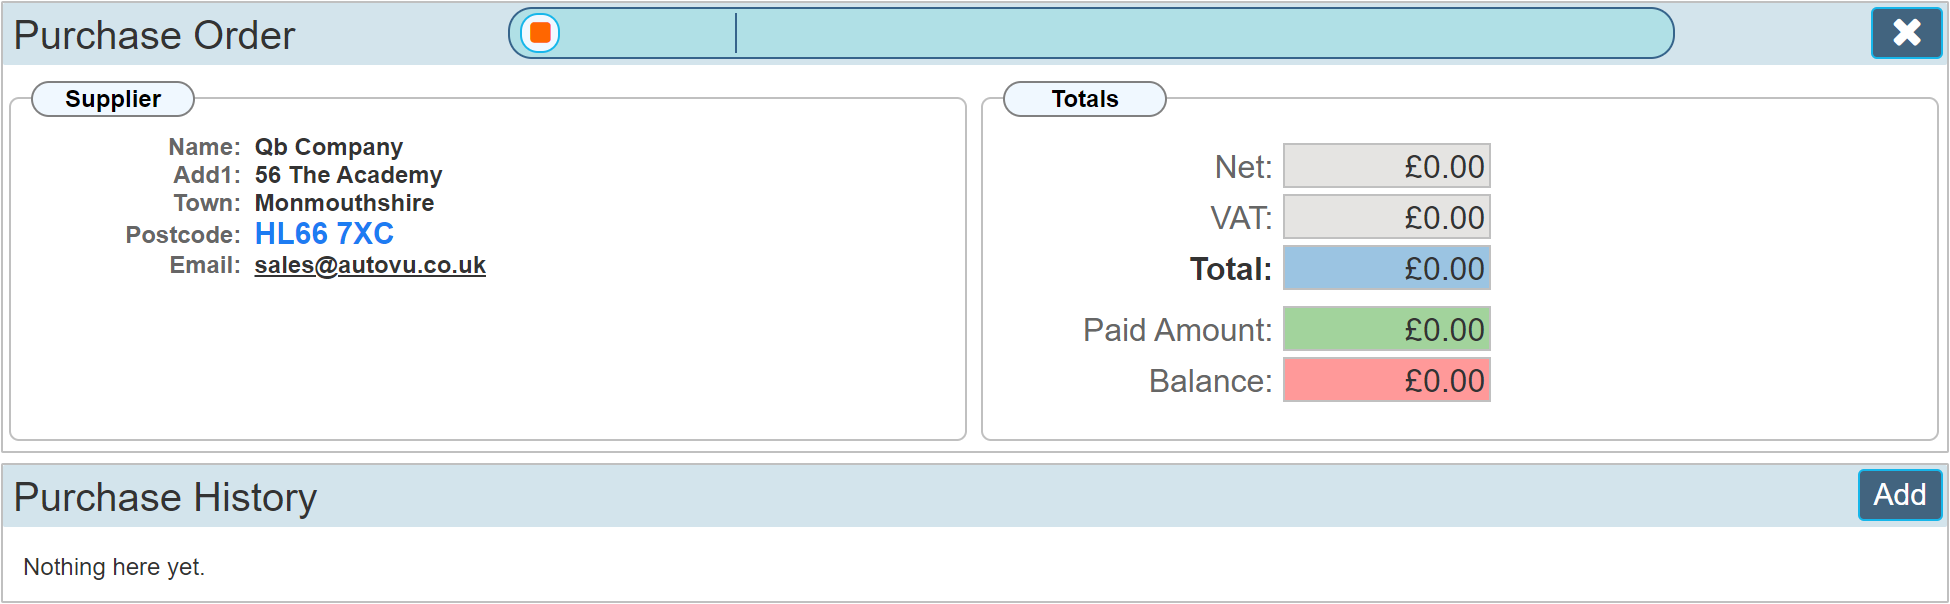
Click 'Add' to open a new PO.
Raise a Purchase Order
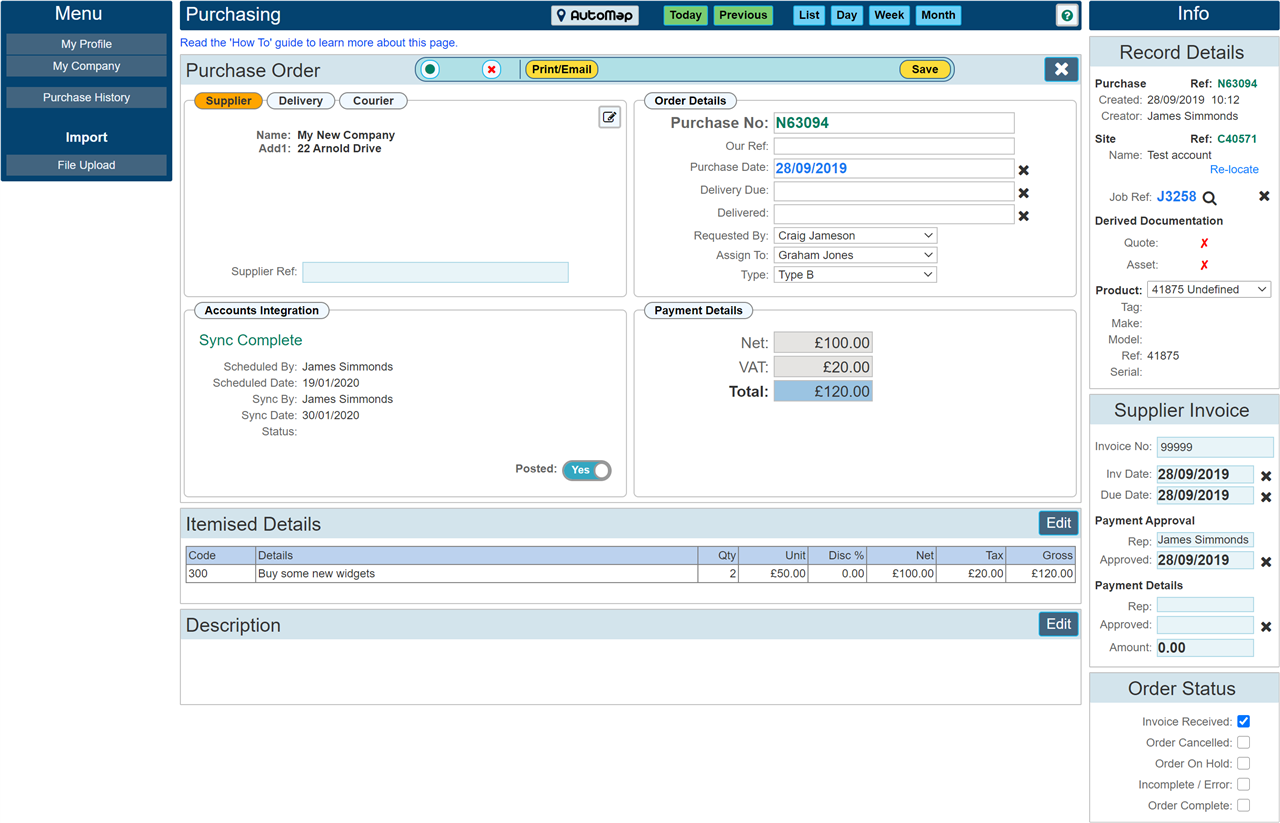
Once a PO has been raised, the details of the purchase can be recorded.
The below image shows a typical purchase order having had several details set.
Supplier, Delivery, Courier Panel
Select a Supplier
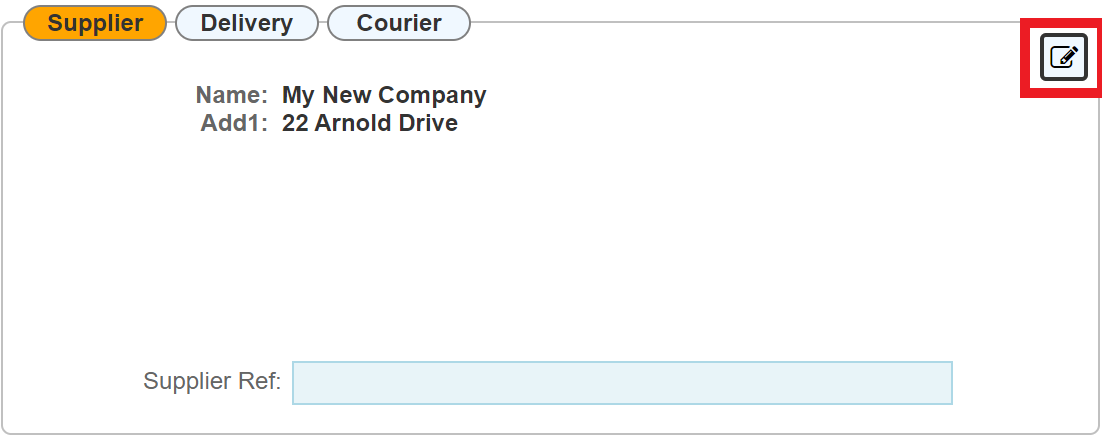
Purchase orders are created by first selecting a Supplier by clicking the address edit button highlighted in red as shown below;
An address edit dialogue will appear that allows you to select your supplier from a drop down list of 'Pre Saved' suppliers.
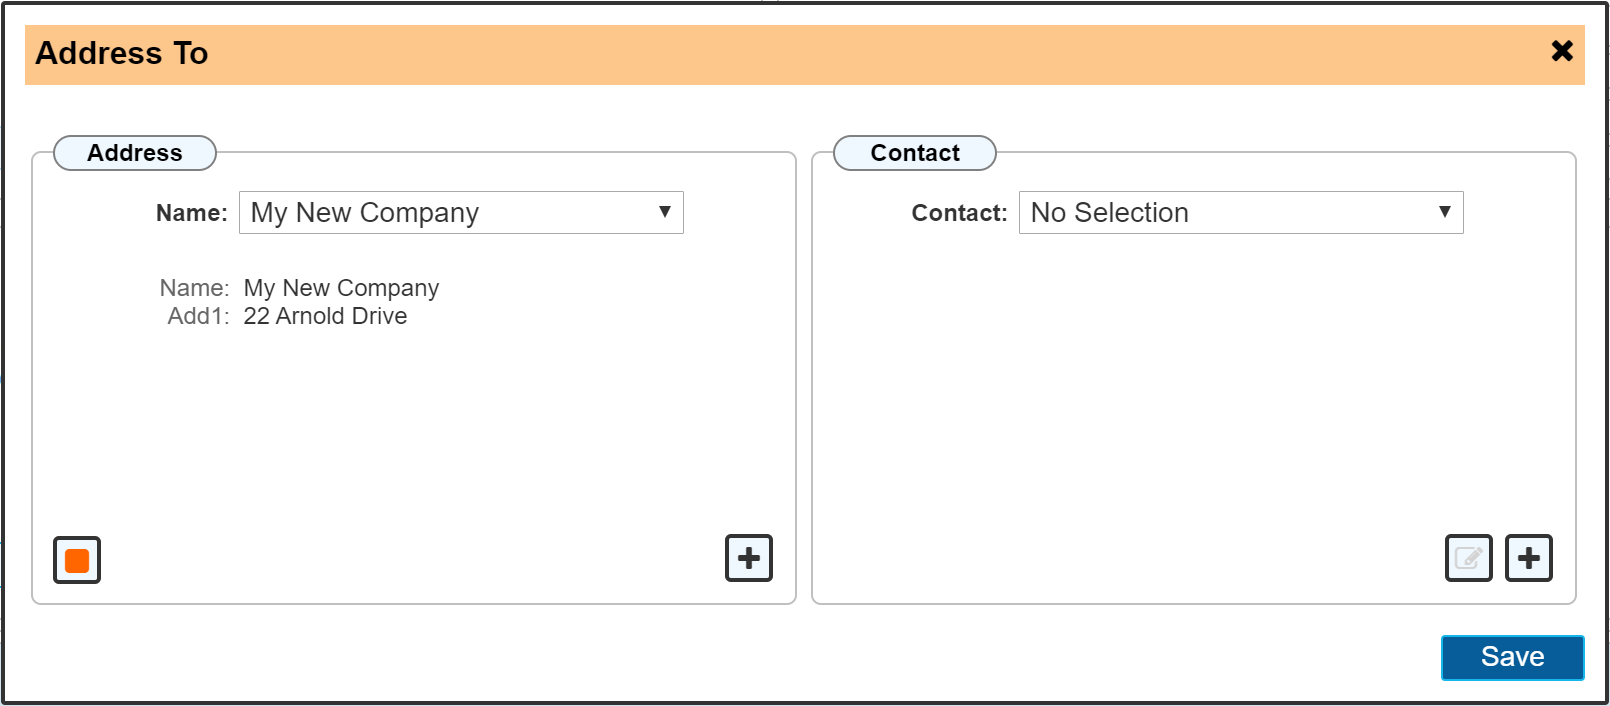
If you wish to add a New Supplier at this time, click the 'Plus' symbol shown at the bottom right of the 'Address' panel.
Delivery Company & Courier
The process can be repeated should you wish to enter a Delivery Company and a Courier. Just click the appropriate heading 'Supplier', 'Delivery' or 'Courier'. By default, the 'Supplier' is always highlighted in Orange upon entering the Purchase Order Page.
NB: If you wish to obtain a 'Purchase Order' number at this stage, clicking the yellow 'Save' button within the 'Action Bar' at the top of the PO will produce a 'Purchase Order Number'. The minimum requirement for obtaining a purchase order number is to select a supplier.
Order Details Panel
| Purchase No: |
Once the purchase order has been saved, it will be given a Purchase No. This is shown at the top of the Order Details panel and is always prefixed with the letter 'N' |
| Our Ref: |
As well as the unique purchase order number generated by AutoVu, you may wish to add your own reference to the Purchase Order. |
| Purchase Date: |
The date you raised the PO with your supplier. It will default to the current date but is editable where required. |
| Delivery Due: |
The date you are expecting delivery to be made. |
| Delivered: |
The date your goods actually arrived. |
| Requested By: |
The person that requested the purchase order. I.E. the person creating the PO may be creating this on behalf of another person. |
| Assign To: |
You may assign a purchase order to a user within your organisation, filtering on this field is possible within reports. |
| Type: |
Allows you to identify what type of purchase order this is. (List entries are created within 'Custom Values'). This allows filtering on different purchase order types within your reports. |
Accounts Integration Panel
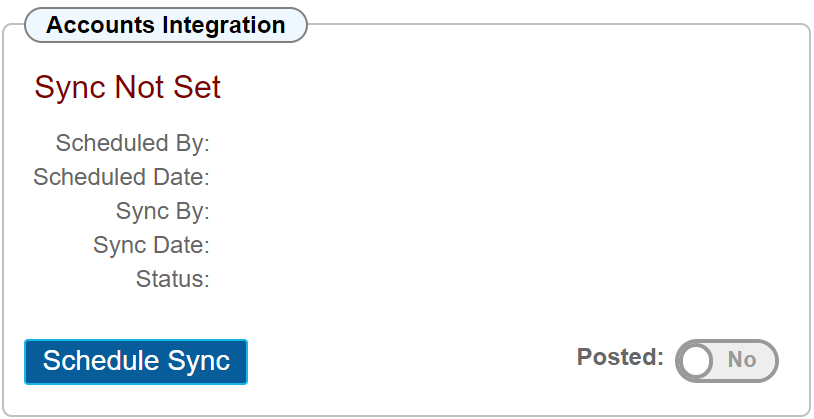
Once the payment of your supplier invoice has been approved, you may sync the details to your accounting software. Simply click 'Schedule Sync' to include the details in the sync schedule. The image below shows the sync panel before the sync has been set.
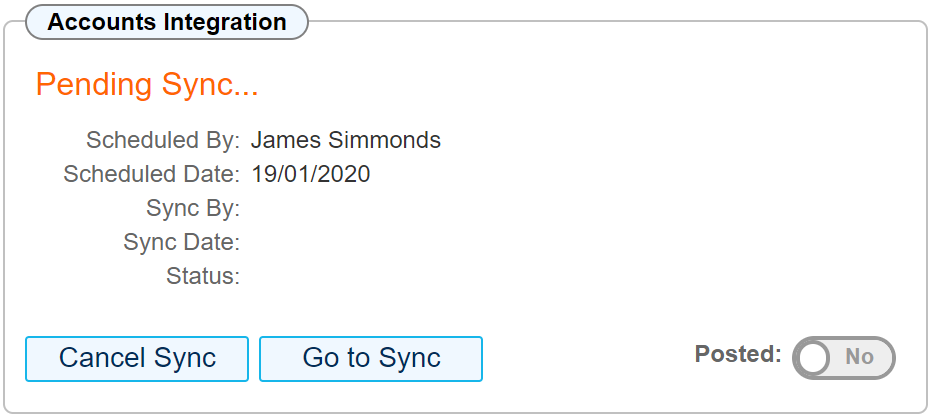
The image below shows the sync panel once the schedule has been set, Options are available to cancel the sync or navigate to the sync page. Please note: Depending on your subscription level, you may or may not be able to see the syn panel or the option to navigate to the accounts sync page.
Once the invoice has been synced (See Accounts Integration (Sync) section) the posted toggle will automatically be set to 'Yes'. If you are manually entering your supplier invoices into your accounting software, you will be required to 'Manually set' this toggle to inform AutoVu that the task has been completed.
Payment Details Panel
Shown here are read only values that sum all the values of the 'Itemised Details' editor. I.E. the totals of your Purchase Order.
Itemised Details Panel
Enter the itemised details editor by clicking 'Edit' to the right of the itemised details panel.

For each line of your purchase order, click the 'Plus' symbol, select a Nominal Code, Description, Qty and Price. By default, each line will automatically apply Tax (VAT) at the current rate.

If you wish to edit the tax rate or enter your own value, 'Double Click' the appropriate Tax Rate box to open a tax rate selector.

The image below shows the tax rate selector.
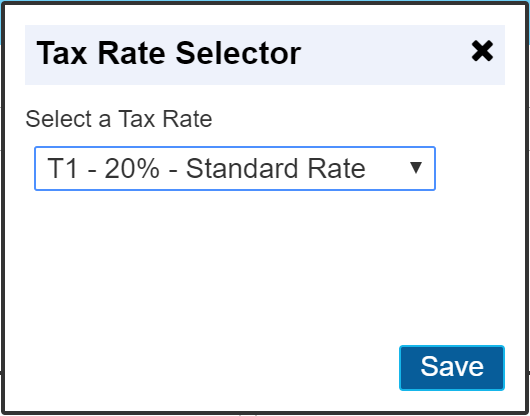
The current tax rates for your country are set within the settings section: Settings > Company Settings > Regional Settings.
Four different tax rates can be applied;
T0 - Exempt
T1 - Standard Rate
T3 - Reduced Rate
T9 - Zero Rate
Description Panel
If an additional description for your purchase order is required, click the edit button to the right of the description panel to input your details.
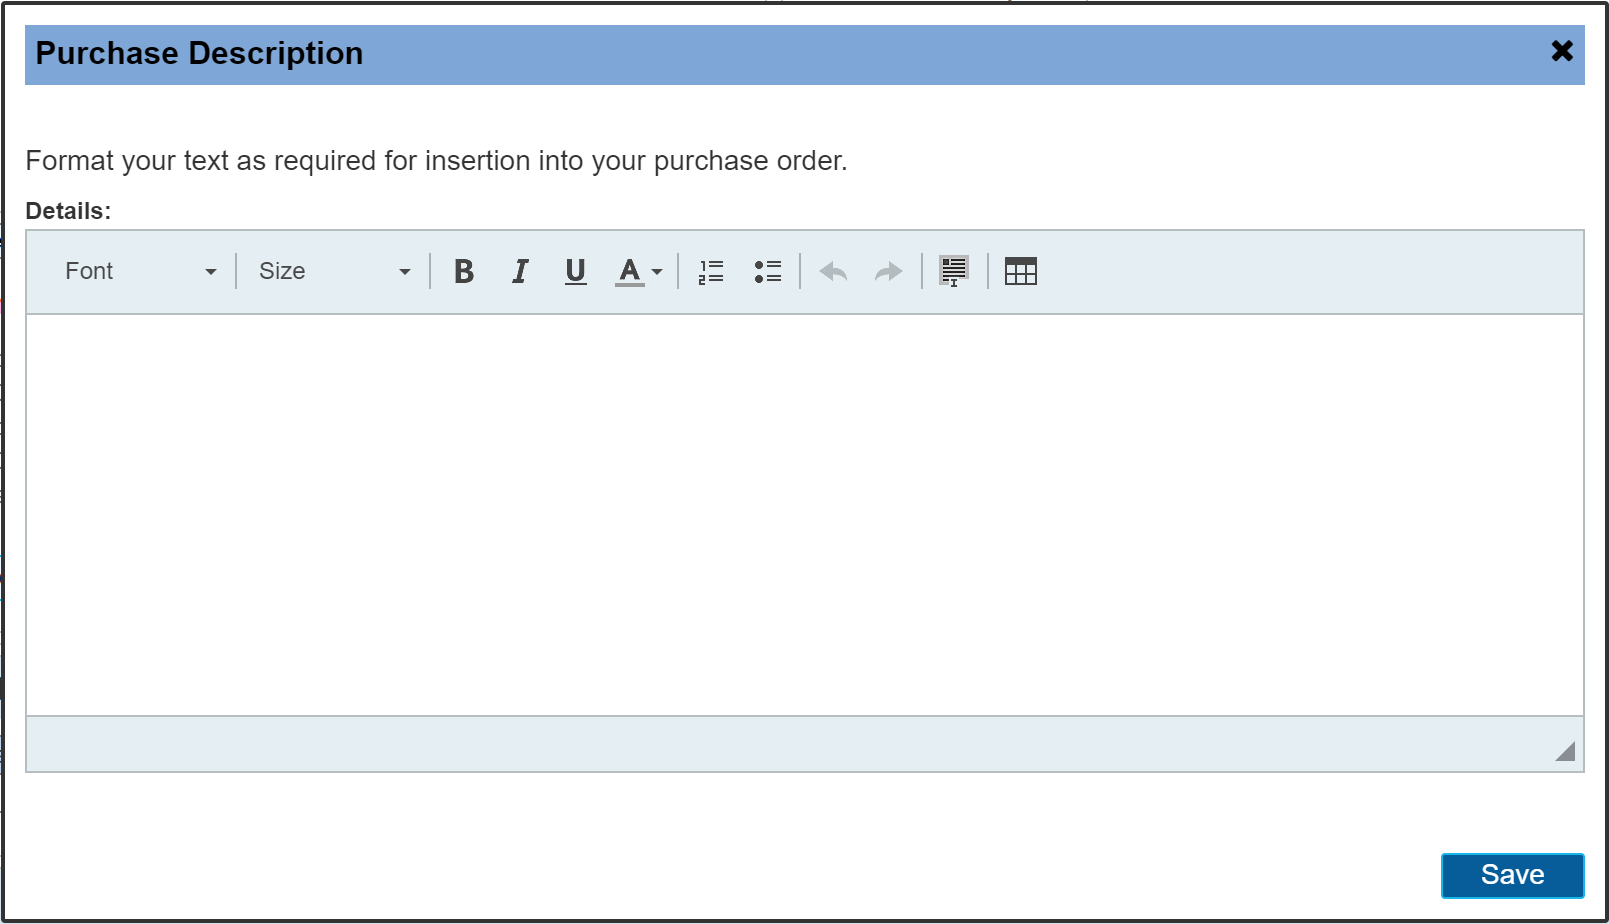
The description panel editor allows a level of text editing functions to be performed if required. I.E. the font size, style and colour can be changed.
Record Details Panel
The record details panel shows where the PO originated from. In this instance we can see that there is a 'SiteID'. This confirms to us that the PO was raised from a site named 'Test Account' rather than a 'Company'
There is also a 'Job Ref' value. The value 'J3258' refers to a job ticket.
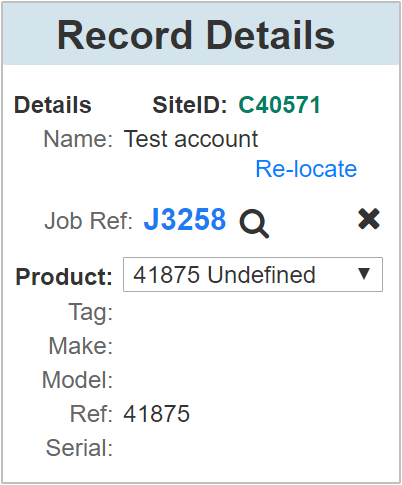
Clicking the Job Ref value will navigate to the job ticket that this purchase order is linked to. Clicking the 'Cross' at the right of the Job Ref value will remove the link to that Job Ticket should the wrong job ticket have been linked.
PO's can be raised directly from the Job Ticket which will automatically link the PO to its corresponding Job Ticket. Should the PO be raised directly from the site instead of from the Job Ticket, it is possible to link the orphaned PO to a Job Ticket retrospectively if this was the supposed action.
There is nothing wrong with stand alone PO's, however it is most appropriate to link these to a 'Job Ticket' wherever one exists that is related to the purchase being made.
Clicking the 'Spy Glass' will open the dialogue to link the PO to a job ticket. The below image indicated the spy glass and the subsequent 'Job Ticket' item picker.
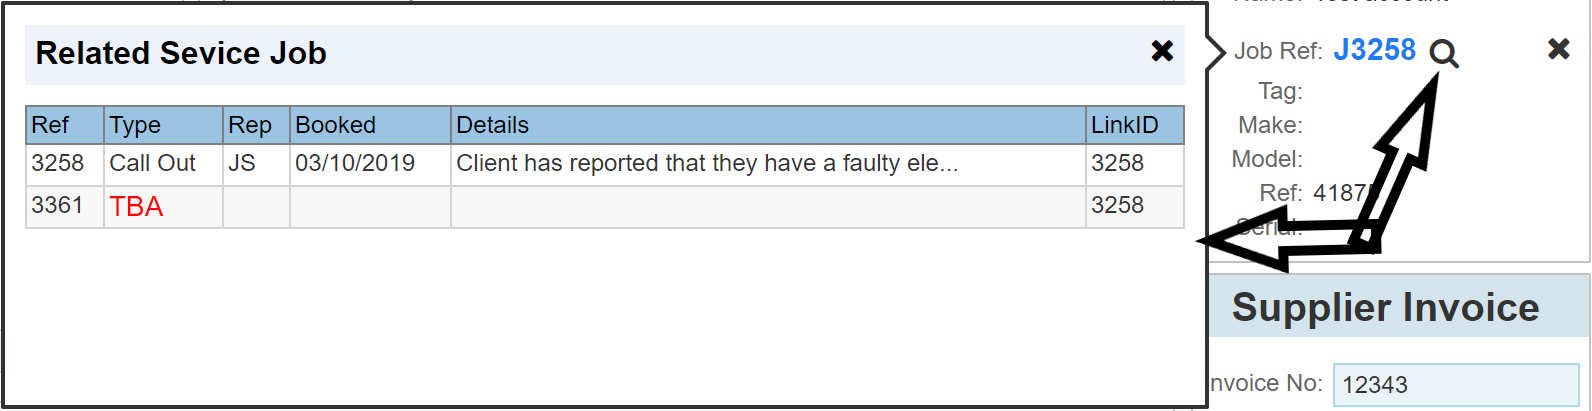
Selecting a row from this dialogue will link that Job Ticket to the current PO.
Re locate
If you have placed a PO within the wrong Site, it is possible to 're-locate' the PO to the correct Site / Product.
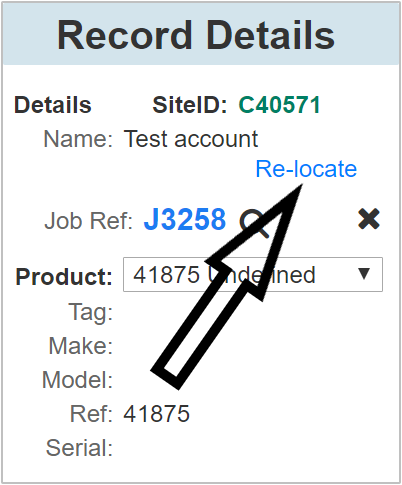
Clicking the Re-locate button opens up the 'Linking' dialogue shown below;
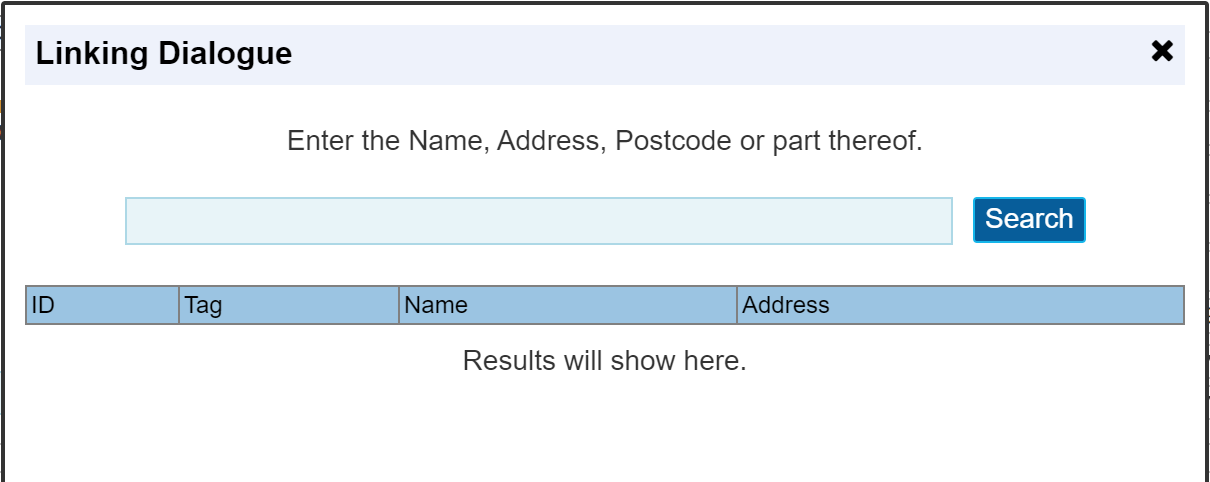
Enter the Site Name, Address or ID / Reference number to search for the new site to link to your PO. After clicking search, select from the results to complete the link.
PLEASE NOTE: If a Job Ticket was linked to this PO, the link will be removed as this is no longer relevant to the new site you have selected.
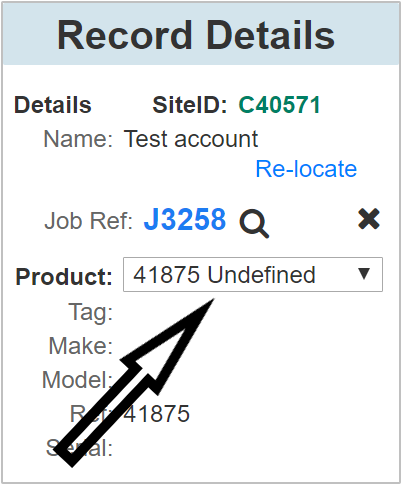
Product Drop Down List
If a PO was raised from the correct site, but within the wrong product, selecting the correct product from this drop down list will move the PO accordingly.
PLEASE NOTE: If a Job Ticket was linked to this PO, the link will be removed as this is no longer relevant to the new product you have selected. You can re link the PO to the correct job ticket once it has been moved.
The Product References
The fields Tag, Make, Model, Ref and Serial will be populated from the values set in the product manager on the site record. They are here for reference.
Supplier Invoice Panel
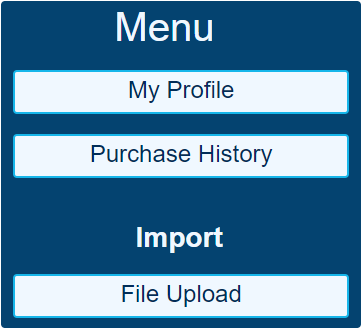
Once the goods have been ordered, your supplier will subsequently send you an invoice for the items you have purchased. This supplier invoice can be uploaded to the Purchase order by clicking the 'File Upload' button shown in the LH menu within the 'Import' section.
Invoice No
Enter the suppliers invoice number.
Inv Date
The suppliers invoice date.
Due Date
The date as shown on your supplier invoice that the payment is due.
This field can be automatically populated based on the suppliers credit terms. The credit terms are set on the supplier record. This will be shown in the RH column of the supplier record under the 'Credit Terms' section.
If credit terms for the selected supplier have been set, after entering the invoice date and clicking 'Save', the due date will automatically be set according to the credit terms you have specified. If credit terms have not been set on the supplier record and the due date field is left empty, the same date as the 'Inv Date' will be automatically inserted when clicking 'Save'. I.E. the 'Due Date' field cannot be empty once the 'Inv Date' has been set.
Payment Approval
Before a supplier invoice is synced / paid, there is an approval option shown within the Supplier Invoice section. Clicking the box labelled 'Rep' signs and dates the approval using your login details. This option can be limited to individual people within your organisation. I.E. only authorised users are able to 'Sign' the PO which will then show as 'Approved'
The date field will automatically insert the current date once the rep field has been clicked to 'Sign' the document. Click the date to edit if required.
Payment Details
As with the 'Payment Approval' section, only authorised users are able to set the payment details for the PO.
When a supplier invoice has been paid, the value paid and the date can be recorded here. If you use the accounts sync feature, this value can be automatically set by syncing all purchase payments from your accounts software back to AutoVu. In this instance, setting this value manually is not necessary as it will be done automatically once the accounts sync is complete.
Order Status Panel
This panel is used to identify what stage your PO / Supplier invoice is at.
| Invoice Received: |
Tells AutoVu that your supplier invoice has been received and uploaded. |
| Order Cancelled: |
Orders that have been placed but subsequently cancelled (Not Received) |
| Order On Hold: |
Your supplier may have put your company On Hold, I.E. goods may not be delivered. |
| Incomplete / Error: |
Goods delivered incomplete or the supplier invoice does not match your requirement. |
| Order Complete: |
Finalises the PO. |
These order status settings are reflected within the Purchase Order admin panel located on the main diary, Selected from the LH menu by clicking 'Purchase Orders'
Notes Panel
Shortages and errors with the supplier invoice are to be recorded in the 'Notes' section for viewing at a later stage by other personnel. The notes are displayed on the main diary page when you select to view the Purchase Orders admin panel.
The Action Bar
The action bar across the top of the purchase order page allows a number of functions that can be performed.

The 'Green' Dot
Depending on where the purchase order originated, this button may be green for a site related record, or orange for a company related record. Clicking this allows you to navigate to the related Site or Company record.
The 'Red' Cross
This function allows you to delete the current purchase order. The button will disappear once the purchase order has been sent as shown in the print dialogue, the toggle labelled 'Sent' will be set to 'Yes' as soon as the PO has been emailed to someone. This is a safety feature to prevent accidental deletion of a document that someone has already received and may refer to at some point in the future.
This can be overridden by opening the print dialogue and then resetting the 'Sent' toggle back to 'No', saving the document then refreshing the page to allow the delete function to show. Navigating away from the PO and re-opening it will have the same effect.
Print/Email
From this dialogue you may print a PDF copy of your PO or send it via email to your supplier.
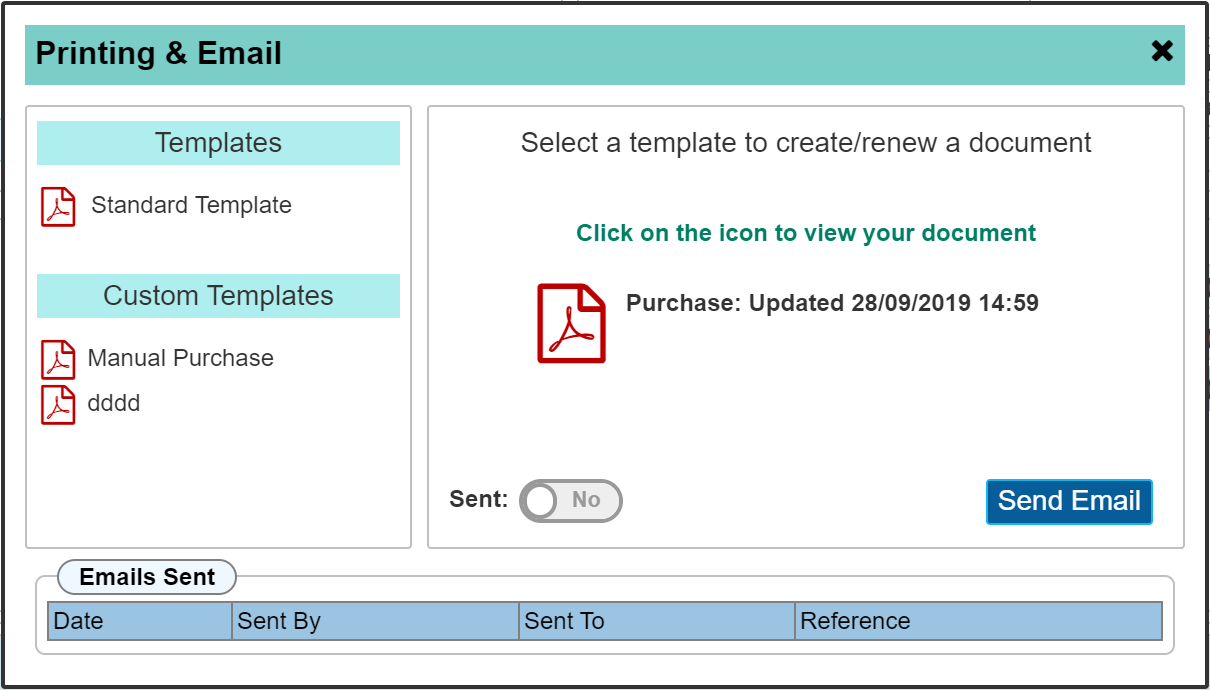
Multiple 'Custom' templates can be created where required, but in most instances 'Standard Template' will be used. Each time the 'Standard Template' icon is clicked, the PDF will be re-generated showing the date and time it was created.
NB: If the PO is further edited after creating the PDF, it is important to 'Re-Generate' a new PDF to incorporate the changes.
Clicking the 'Send Email' button opens up the emailer dialogue allowing you to email the PO to your supplier.
Once an email has been sent, the 'Sent' toggle will automatically be set to 'Yes'
Save
Click 'Save' to save / create the current PO. If this is the first time the record has been saved, the PO will be assigned a purchase order number.