The reports module is based on a series of templates which are shown within the left hand menu. These are essentially broken down into specific areas within the system. Clicking on a menu option will expand the area revealing the reports available within that particular area.
Once a report has been selected, a series of filters are available allowing you to narrow down the results of the report to those required. Each time you 'Update' the report, the field filter dates and settings will be saved so that next time you visit that report, the settings will be set just as you left them the last time you viewed that report.
In our example below, we have selected the Service Visits area tab that has expanded to show the reports available for that area.

Areas
The Areas menu groups reports of a similar function into one menu button. Clicking on the area menu button will expand the area to show the available report templates.
Filter 1
All, some or non of the options shown within Filter 1 will be available depending on which report you choose to run. For some reports it is not necessary to have all of these options.
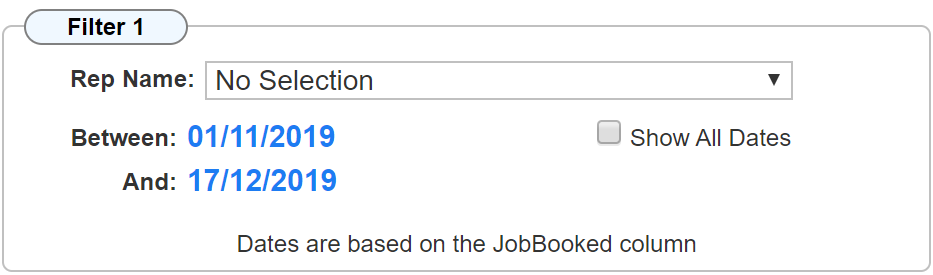
Rep Name
In the example shown above for 'Booked Jobs', selecting the Rep Name filter will limit the results to those jobs booked only for the selected engineer.
Between / And
The date range shown will limit the results to jobs booked between those two dates only.
Show All Dates
Toggling this flag will return all dates. I.E. the date range will be ignored in the result set and all rows will be returned irrespective of the dates.
Filter 2
The options shown within filter 2 are always drop down lists that reflect the data within the selected report. In our example, Main Contractor, Contract Name and Job Types are listed as filters for the 'Booked Jobs' report.
Please note: The options within Filter 2 may differ between each report. We have used the 'Booked Jobs' report as an example.
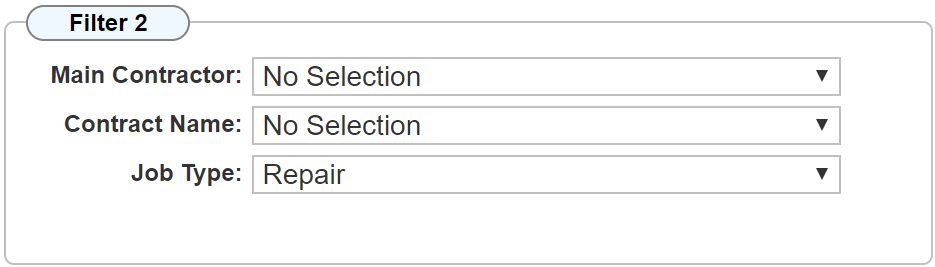
Main Contractor
If your company uses the Main Contractor feature, the result set can be limited to site products that have a particular main contractor selected.
Contract Name
The result set can be limited to site products that have a particular service contract name.
Job Type
To filter results by the job ticket 'Job Type'.
Main/Sub Office
Depending on your subscription level, this feature may or may not be visible.
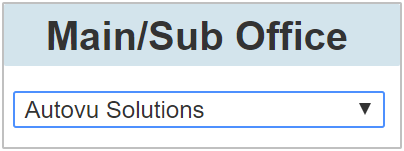
This filter allows you to limit the results based on which office / shop / department the site product has been allocated.
The options are limited to the permissions of the user. E.G. a full user with permission to view all offices will have the ability to show results for all sites allocated to all offices or selecting a single office. A user with permissions to view only a particular office will be limited to results for that office only.
Report Fields
Selecting the checkboxes within this section allows you to limit which fields are shown within your report.
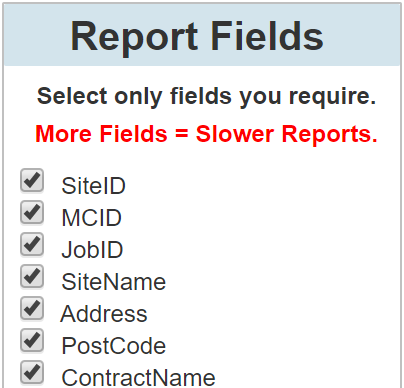
When first running this reports, the top 14 fields will automatically be selected. By toggling the fields on or off will limit both the screen and the exported reports to just the selected fields.
Please Note: As indicated, the number of fields selected have a direct impact on the time it takes to export the report to either CSV or PDF. E.G. A small report with something like 200 or 300 rows, and 10 or 12 columns selected may be returned to you within 2 - 5 minutes. A large report of 10,000 rows and 20 to 30 columns may take over an hour to produce. This time restriction does not apply to reports generated on screen, only the ones exported to either PDF or CSV.
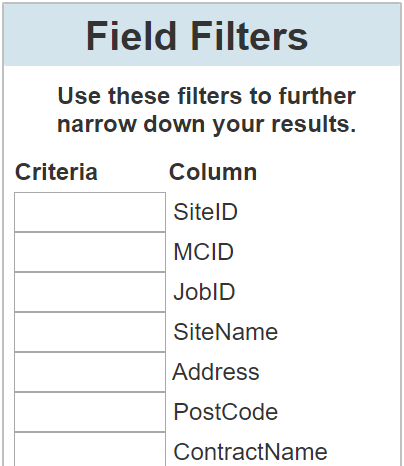
Field Filters
These filters allow you to further narrow down the results of your report with criteria that may not be available within the Filter 1 and Filter 2 options.
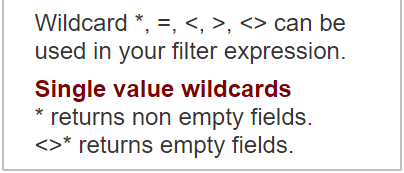
The criteria used within these fields is more often used in conjunction with 'Wildcards', wildcards are a method of returning results based on a particular match.
We will use the 'PostCode' field from our 'Booked Days' report example to detail the wildcard operation. In the report screenshot at the top of the page, there are 3 records, two of which have a postcode and one that does not.
Full Text String
By entering the text 'DA3 7BE' within the field filter box for 'PostCode' will limit the results to all records with 'DA3 7BE' in the PostCode field.
It may be necessary to find records that match with just the first part of the postcode, I.E. 'DA3'. By entering just 'DA3' into the field filter box for PostCode will return rows that contain 'DA3', and only 'DA3', not rows that start with 'DA3' and have additional characters.
* Wildcard (when used with a string)
The * wildcard overcomes the problem outlined above where we require results that start with 'DA3' but may be followed by other characters.
By entering 'DA3*' into the field filter box for PostCode will allow the results to contain any row that has a postcode beginning with 'DA3' and followed by any other characters. The same applies for criteria such as '*7BE'. this will return any row where the postcode ends with '7BE' but can have any combination of preceding characters.
* Wildcard (when used on its own)
There are times when all you actually want to filter on is the fact that the field has some data, I.E. it is not empty. Using the * wildcard on its own does just that. Using our PostCode field filter, entering only * will return 2 rows on the report as shown at the top of the page. I.E. the row where a postcode does not exist will be filtered out making sure the report only includes rows that have a postcode.
<>* Wildcard
This wildcard returns results where the field it is applied to does not have any data. E.G. if we entered '<>*' into the field filter box for PostCode, the results for the table shown at the top of the page would return only one row. I.E. only the row that does not have a postcode would be returned.
= Wildcard
This wildcard returns rows where the value equal that of the field filter box. It is not normally necessary to include the equals sign as omitting it does the same thing.
< Wildcard and the > Wildcard
Primarily used for fields that contain a number or a date. E.G. you may wish to return rows where the CreatedDate is less than a certain date. E.G. the criteria entered into the CreatedDate field filter could be something like '< 2019.10.20'. (The > (greater than) wildcard works exactly as the < (less than) but the other way around. I.E. values greater than the one recorded.) If the < or > wildcard is used on a text field, the results returned are based on the alphabetical order of the field content. We recommend using the 'Filter 1' option for date range filtering.
Please Note: As shown in the above example using a date, the format of the date must be yyyy.mm.dd (year.month.day) for the filter to work. Entering the date in your own local format may not return the results expected when filtering on dates in the field filters section.
<> Wildcard
This is a combination of the 'less than' and 'greater than' wildcards I.E. 'not equal to'. using our PostCode field filter to enter the value '<> DA3 7BE' would mean that the results returned would be all rows that do not contain the postcode 'DA3 7BE'
The Action Bar
The action bar across the top of the report page allows a number of functions that can be performed.

Export
Once a report has been created, it may be necessary to export this for use elsewhere. By clicking the 'Export' button opens up a dialogue to choose between PDF or CSV (spreadsheet) output.
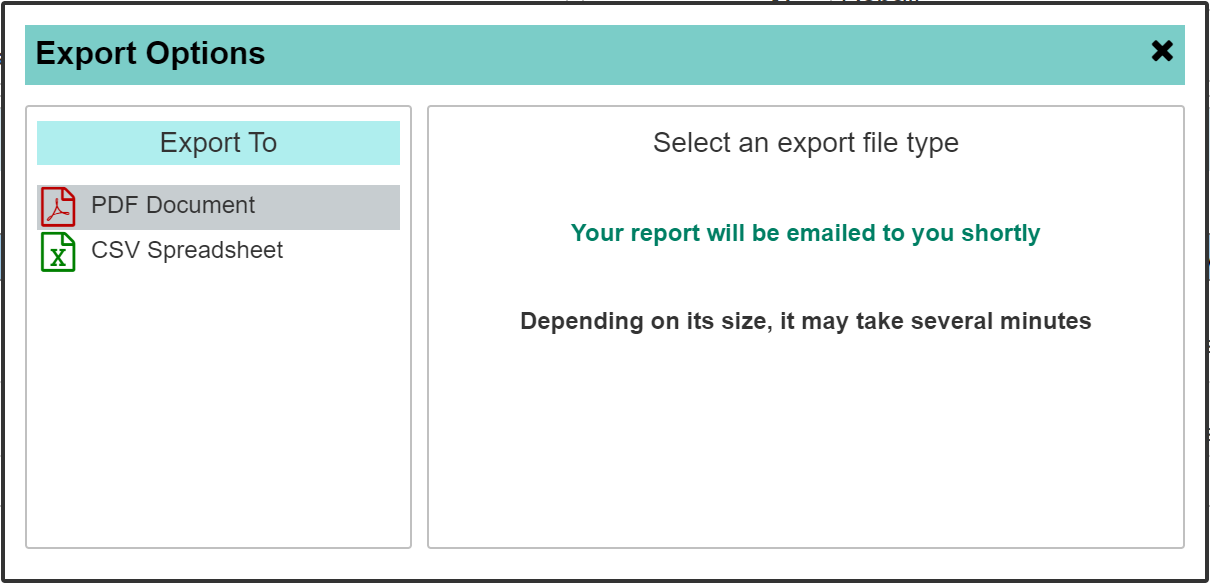
Clicking on either the PDF icon or the CSV icon will then produce the given report. This will be emailed to you. Depending on its size, this may take anything from minutes to over an hour if the report contains a large number or rows and columns. The key to getting a report in a timely period is to limit it to columns that are actually required rather than simply including them all.
Save
Reports will naturally save their state automatically so that when returning at a later date, the settings will be as you left them. I.E. each time you visit a report, the field filters and date ranges will be the same as they were the last time you visited.
A custom report can be saved that allows you to save a specific filter set. I.E. you may use the same report template but for several different purposes. Saving a Custom version of a report allows the same report to be saves multiple times but with differing criteria for the field filters.
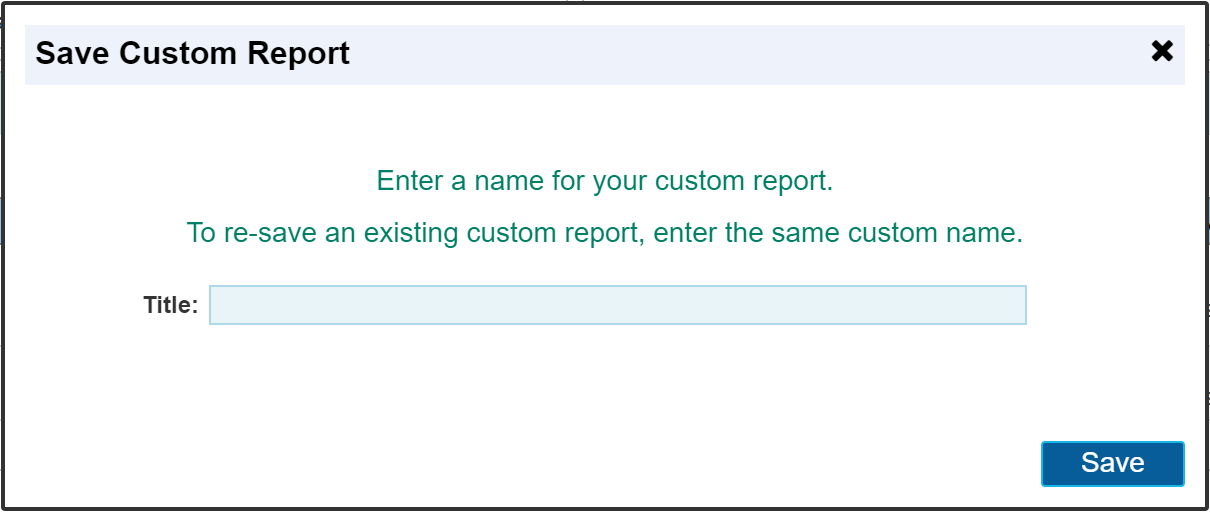
Once you have a report that meets your criteria, clicking the save button allows you to enter your own name for this 'Custom' report. Once a custom report has been saved, a list or Custom Reports will appear in the LH menu underneath the 'Areas' menu. As shown below.
There are no restrictions to the number of custom reports that can be created although thought must be considered for how long the list may get should you create many of them.
Please Note: To re-save / overwrite an existing Custom Report, simply save the new report using the same name. This will effectively delete the older version and create a new one of the same name.
The Red Cross
This deletes the Custom Report. A dialogue will appear asking you to confirm.
Update
The update button 'Runs' the report based on the criteria within the field filters and date ranges. Each time changes are made to your filters, click the 'Update' button to re-run the report.
Report Totals
Some reports have a totals section at the bottom right of the results. Typically these will be reports such as the financials reports.

These totals will also be shown on the PDF exported report.
To display the totals, the associated fields must be selected as part of the report. The below example shows the totals dialogue where those fields have not been selected.

The label shown in red indicates the name of the field which must be selected in order to show the data.
Select the appropriate fields in the Report Fields panel in the RH menu. Shown below, we have highlighted the field that require selecting in this instance.
.png)