The sales prospect dialogue is initially created from a 'Site record' (or the company record for Projects). Once created, it can be re-opened each time a visit is made to that site record. If the prospect follow up has been made active, the prospect popup can also be opened directly from the Diary page within the sales follow up lists.
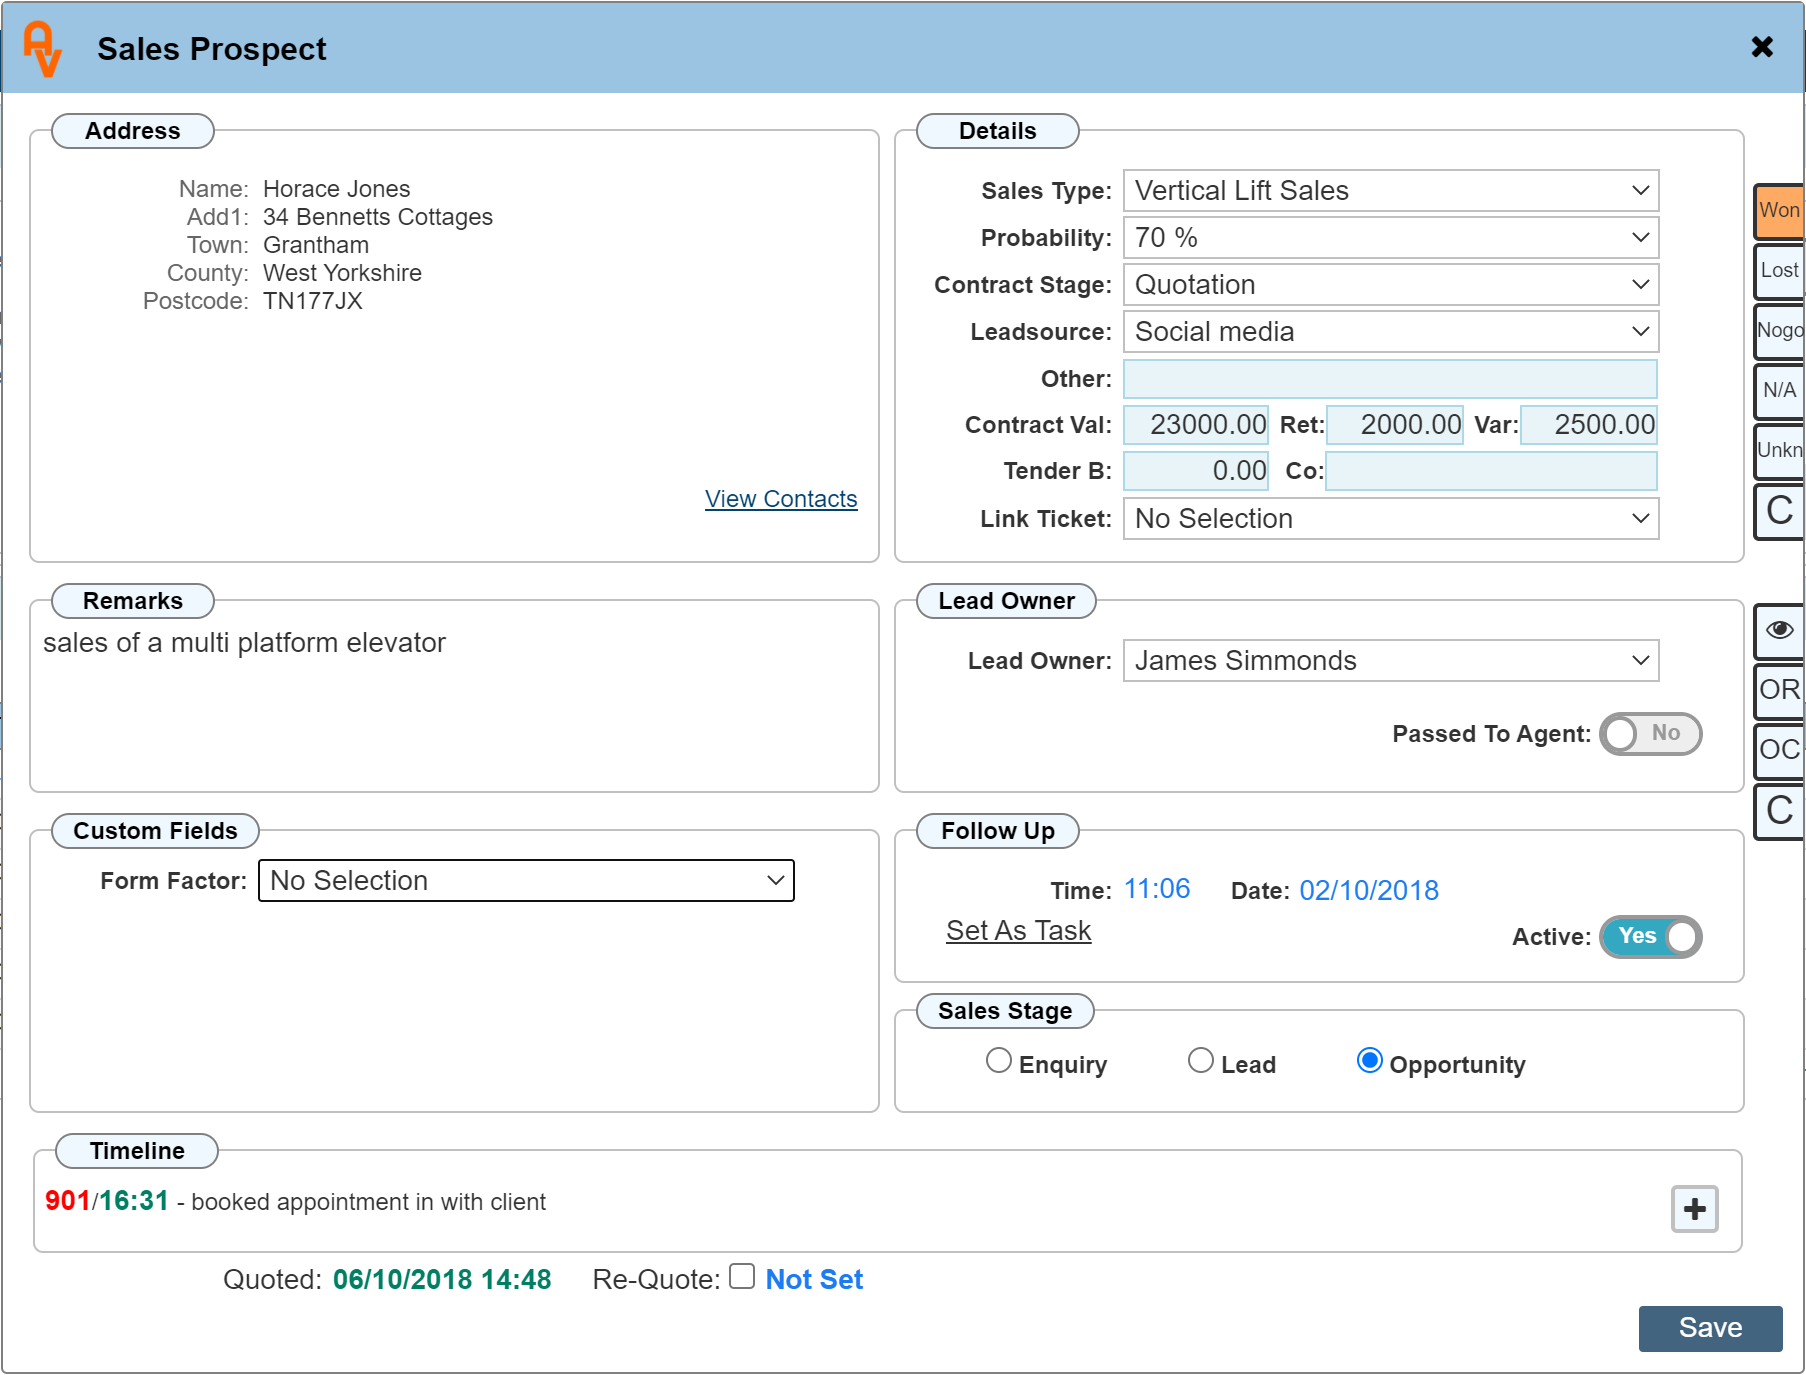
Below is an example of the sales prospect dialogue with some minimal options set.
Address
This section is pre filled with the address details of the site.
Clicking on 'View Contacts' will open a dialogue as below allowing you to see a list (if created) of contacts at this site.

Clicking on an entry will open up the actual contact for editing, likewise, clicking on the Add button will open up a blank contact form allowing you to add an additional contact to the list. Clicking the button with the 'C' number shown in green will navigate you directly to that site, should you be on the diary page when this dialogue is opened.
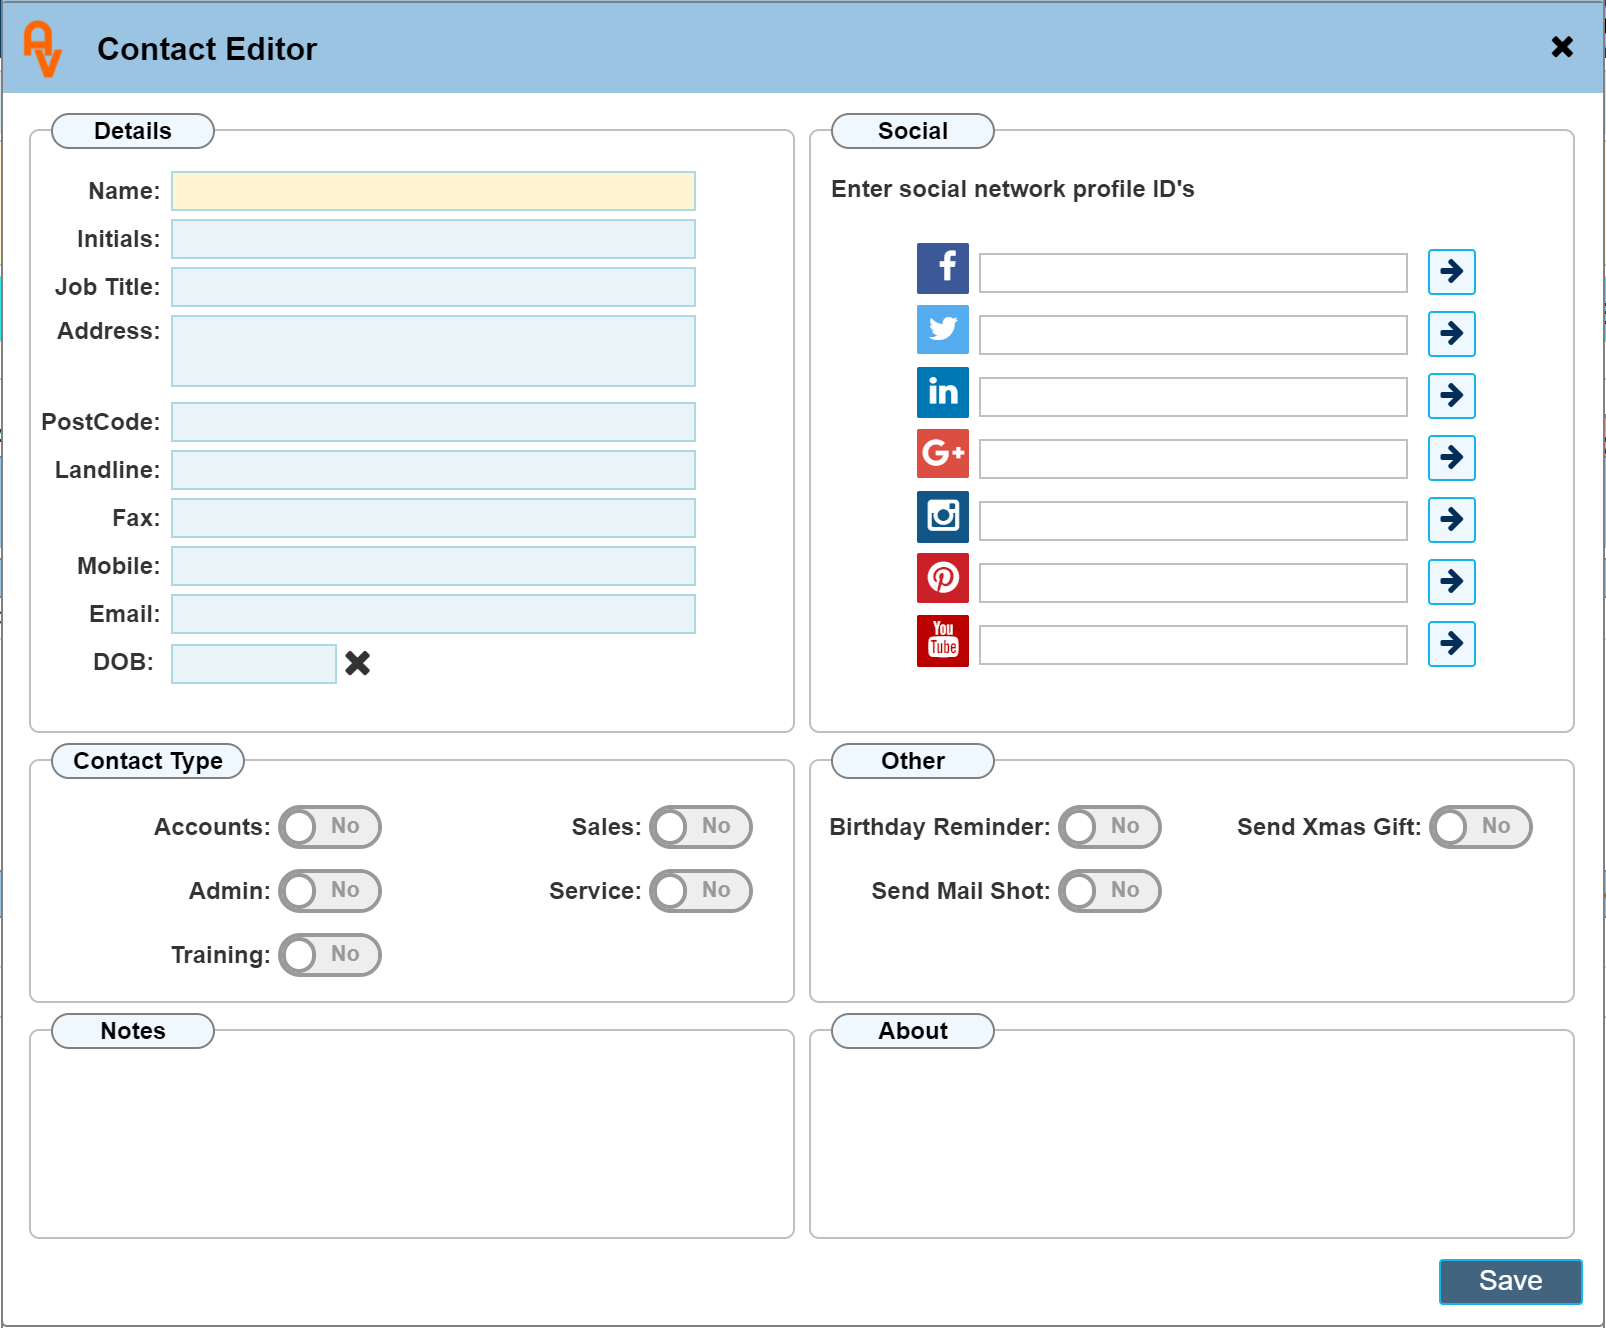
Below is a blank contact form that would show when clicking 'Add'
Details
This section records the general sales information, the contract stage can be incremented to show where in the sales stage your sale is currently at in the sales pipeline.
Sales Type
This is a custom list created within the custom values section of 'Settings'. Depending on your business type, this list can have as few or as many different sales types as you wish. This list will be empty until you add some information.
Probability
Also a custom list, however this list will be pre filled with 10%, 20%, 30% etc. The values can be edited or deleted within the settings section where required.
Contract Stage
Also a custom List, this list will be pre filled with general sales stage details. The values can be edited or deleted within the settings section where required.
Lead Source
This custom list will be empty until you add some information. This list would be used to record where the lead initially came from.
Other
This is a 'General Text Box' box for you to enter anything that may be relevant to the sale. It is often used in conjunction with the Lead Source to further identify where the sale originated.
Contract Value
When discussing the potential sale, it is often necessary to give a ballpark figure for the product before preparing an official quotation. You may record this information here, updating it to the final figure at some point in the future once the final price is known.
Ret (Retention)
If you use a retention process, the retention value can be recorded here.
Var (Variation)
Where there may be room for variation of the contract value.
Tender B
If you are quoting against another company ant the value of this quote is known, you may enter this value here.
Co (Company)
In conjunction with the 'Tender B' price, the company, if known that you are quoting against can be recorded here.
Link Ticket
This drop down list shows all the job tickets for that site / potential sale. Initially there will be no tickets here to choose from when the job is first created. A sales or service job ticket may be subsequently linked to this prospect dialogue where required as the job progresses.
Remarks
Enter the details from your customers requirements about the sale. If you have linked your website 'Contact Us' form to Workforce Manager' through out API, then this section will be pre filled with their initial comments. This can be edited at any time.
Lead Owner
By Default, the 'Lead Owner' drop down list will show your company employees. Select from employees within your company who this sales lead is assigned to. If you operate a commissions structure for your sales team, this is a good method for tracking who is responsible for the sale etc. If you do not require to track the Lead Owner, this section can be left set al 'No Selection'
Passed To Agent
If you take sales enquiries from locations outside of your 'Sales Area' you may have a prearranged agreement that you pass the sales lead to an alternative dealer within the required location of the sale. Toggling the 'Passed To Agent' switch will change the contents of the drop down list to show a list of 'Agencies'. An agent is set when creating (or editing) a 'Company' record. Within the company record is a section that allows you to mark the details as an 'Agency'. The bate this was passed to the 'Agency' can also be recorded.
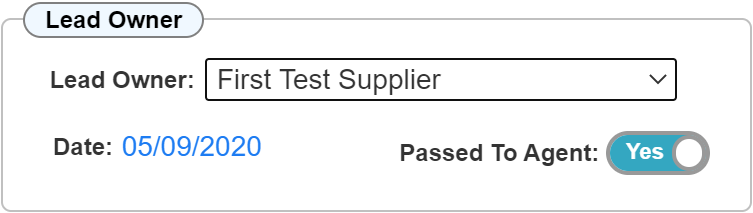
Below is a snippet of the 'Lead Owner' section set with the 'Passed To Agent' toggle set.
Custom Fields
By default, this section will be empty. Within the 'Custom Values' section, it is possible to create a series of up to 5 custom drop down lists, 5 general text fields and 5 toggle switches. Each of these can have its own custom name and have the ability to show the details as selected within a job Ticket if and where necessary.
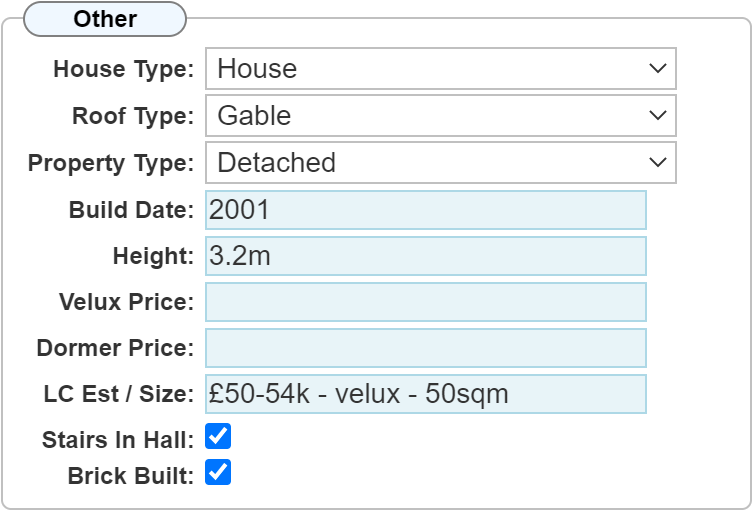
Below is an example of the 'Other' section configured with custom values. You can of course set the heading names to those of your choice and include only the options you require.
Follow Up
Activate the Follow Up section by toggling the 'Active' button to 'Yes'. This allows you to follow up on the sale via 3 separate lists. These lists are separated by the 'Sales Stage' radio buttons. I.E. toggling the sales stage radio buttons moves the follow up to its respective list on the Diary Page.
Set the Date and Time that the next follow up is required. This will then be shown in its respective list on the Diary Page.
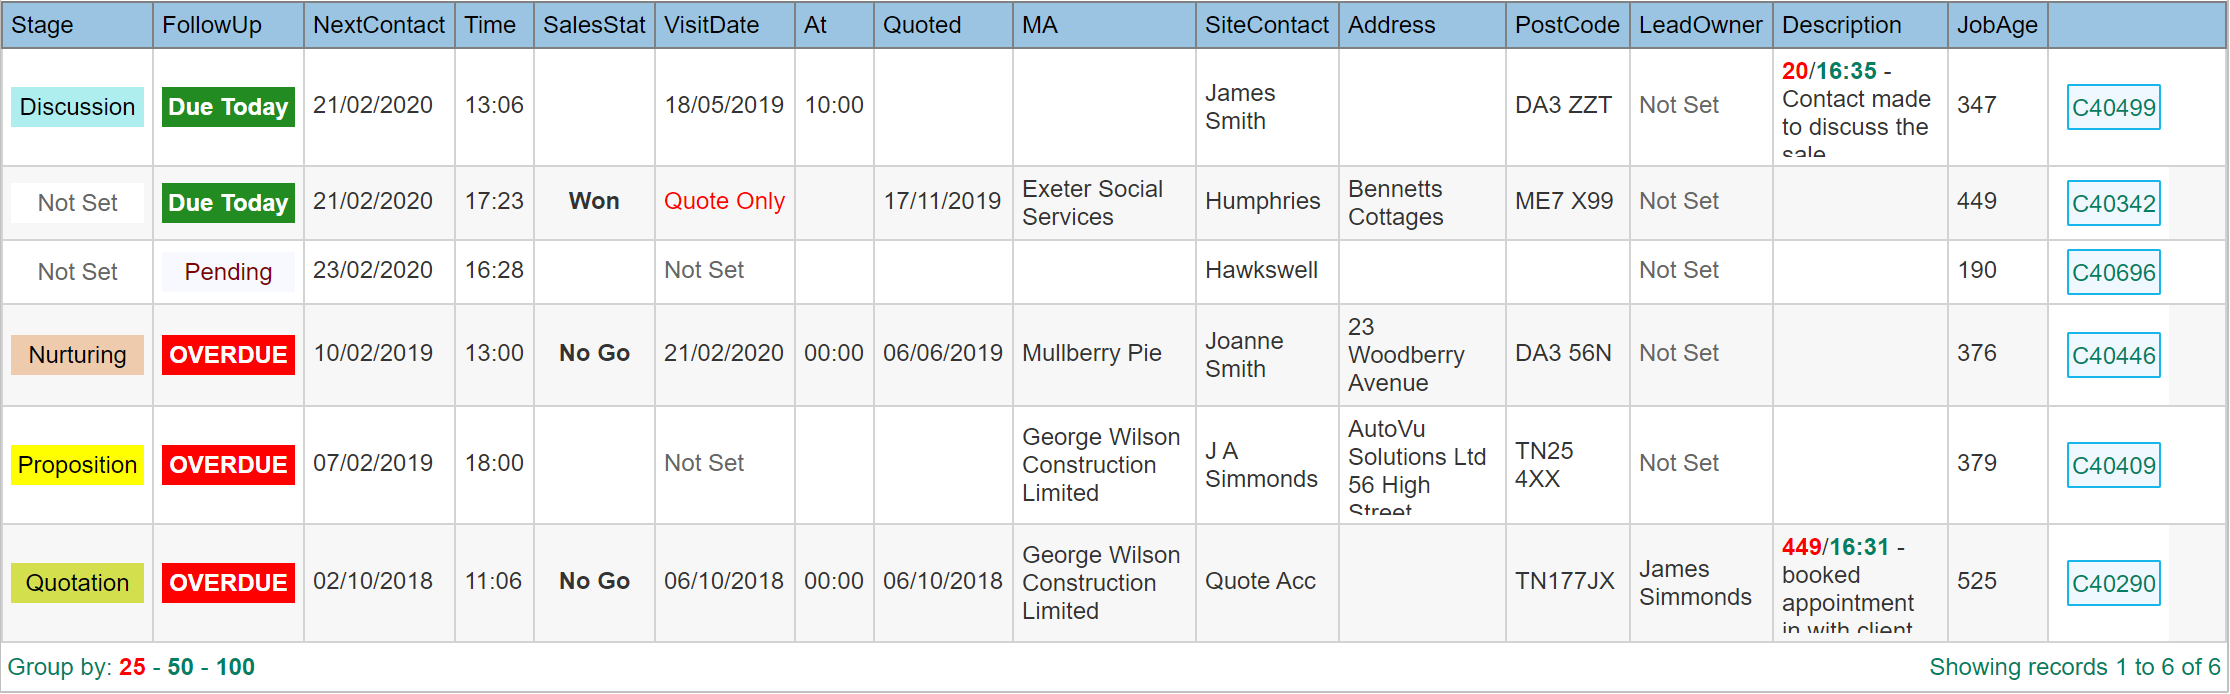
Below is an example follow up list. See the section 'Diary - Sales Menu' for more information about this list. The 'Follow Up' column will show a colour highlighted indicator for when the next follow up is due.
Set as Task
If you wish to also show the sales follow up on the general diary, clicking the 'Set As Task' option will open a 'Task Dialogue'. By doing this, you can further enhance the sales prospect entry with timed reminders that can be sent to you via email for those occasions where you mak be out of the office, but still require a reminder to contact your potential sales client.
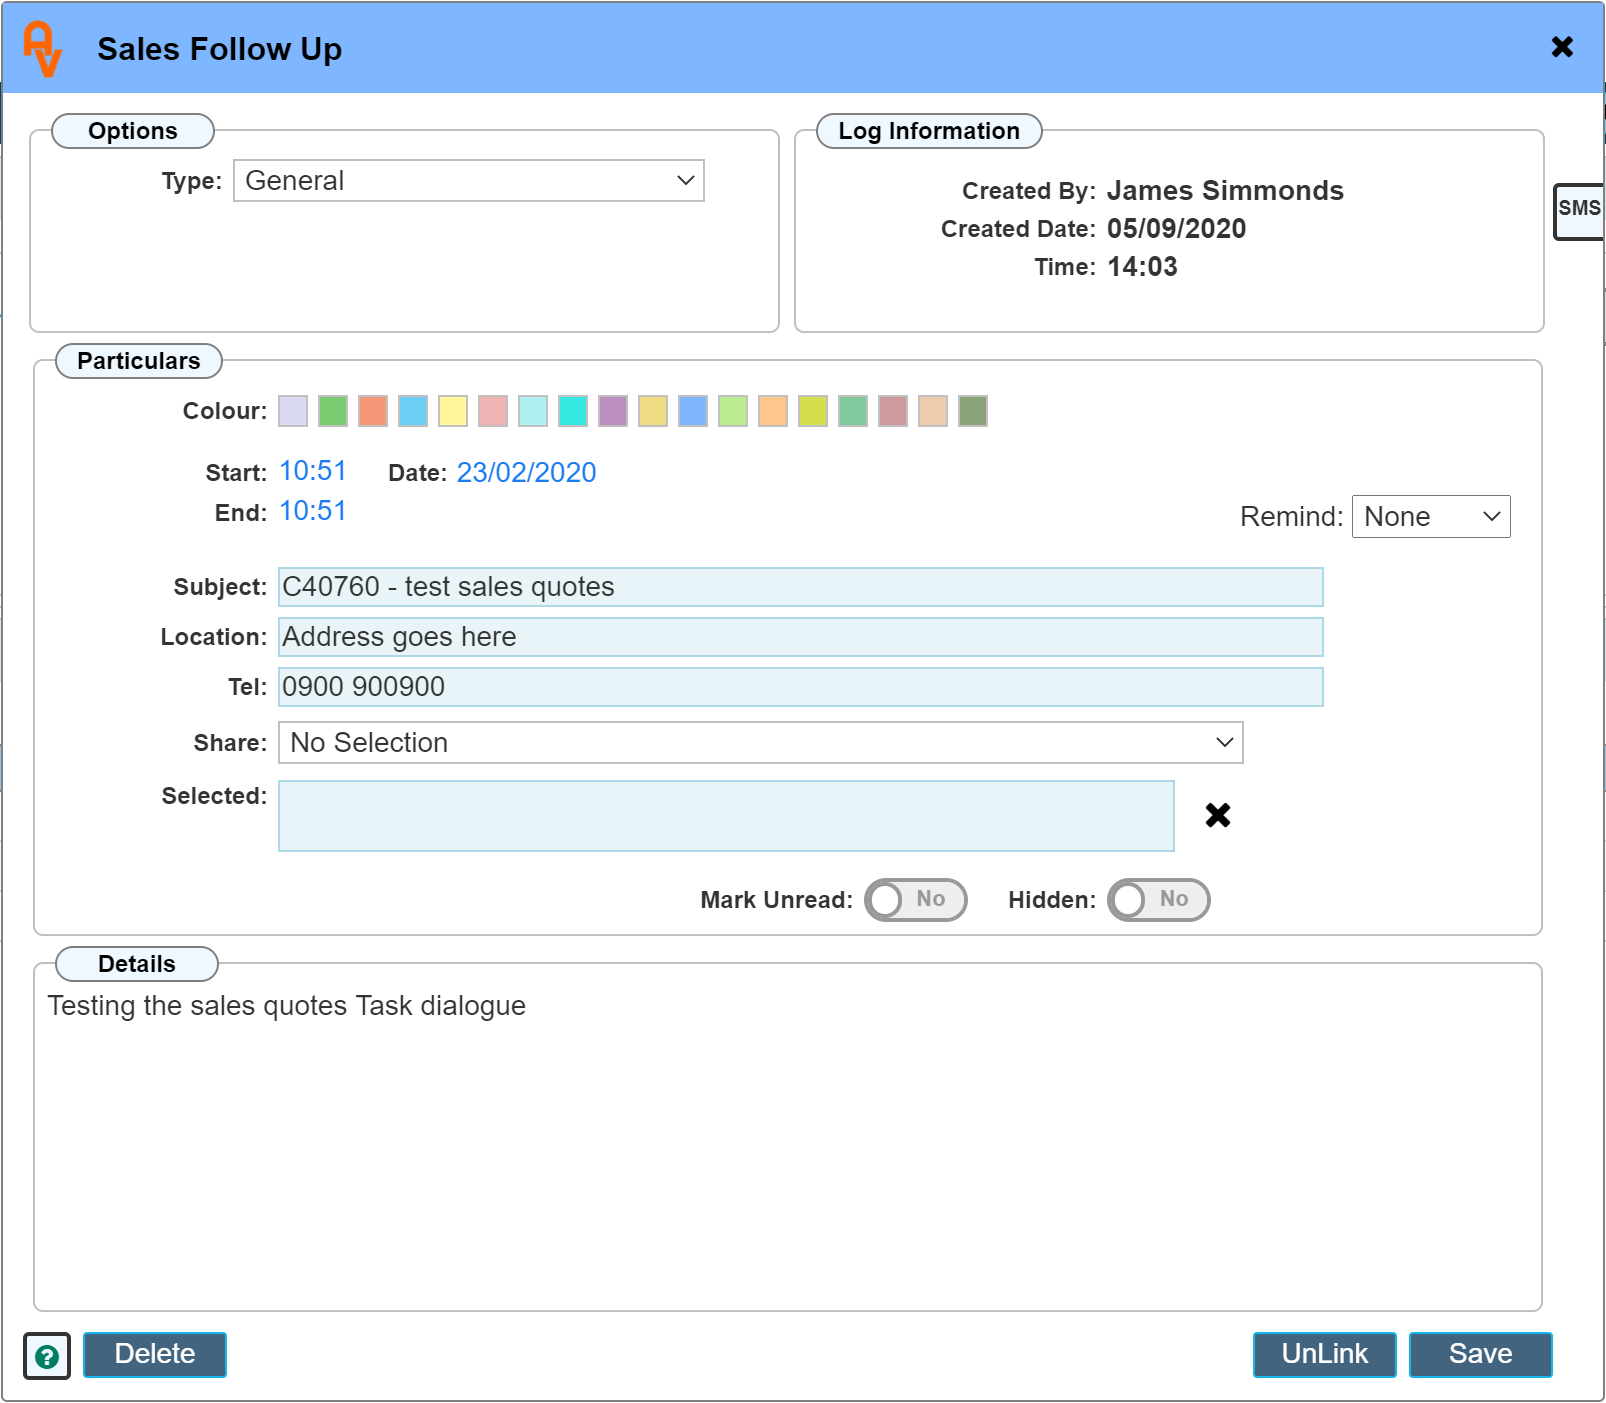
Below is an example of the Task Dialogue that opens when clicking the 'Set As Task' option. See the How To guide on Tasks to learn more about the Task Module.
Once a Task has been created, it is linked to that site's sales prospect. Editing the date / Time in either the Task or the Sales prospect dialogues with be copied into its respective section. I.E. the date/time in both dialogues will always match.
Cancel the 'Task' by clicking 'Delete' in the Task dialogue.
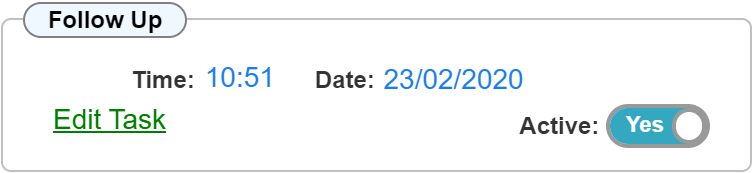
Once a Task has been created, the status in the 'Follow Up' panel will be updated to indicate that a 'Task' has been created. Clicking 'Edit Task' will re-open the Task dialogue.
Sales Stage
The sales pipeline is separated into 3 section, Enquiries, Leads and Opportunities. There are many differing reasons why you might decide which stage your sale is at. Depending on your business type, you may use all of these stages or just one. It is a decision you must make based on your business type.
Enquiries
The first stage of sales. This usually includes all initial enquiries about your product or service. This stage is a 'catch all' for every enquiry that is made prior to any validation being performed on its potential to be a sale. As well as manual input, this stage can be linked to your website through our API to catch all initial enquiries. The first stage of validation before moving the enquiry to the next level would be to determine if the enquiry is actually for a sale, and furthermore is it an enquiry about a product that you sell. Once you have established this through either contact with the client or simply determining from the enquiry that it is a potential sale, you can then move the enquiry to a Lead.
Leads
Leads are all potential sales. Typically a lead would be a sale potential where you have not yet actually got the sale or made a site visit (where required) to sign an order. Once a sale has been made, the lead can then be moved to an Opportunity.
Opportunities
Any sale that has been made but not yet delivered / completed. It will be listed here until the product has been delivered / supplied. Once an actual order has been received, it would be marked as 'Won'.
Timeline
Each time you contact your sales lead client, the details of the conversation are recorded within the sales timeline. The section at the bottom of the Prospect Dialogue will show the latest sales timeline entry, along with how many days ago the entry was made, and the time. By Default, this panel will be empty, clicking the 'Plus' + symbol towards the right of the panel will open a timeline dialogue as shown below. See the How To guide for the Timeline for more details on this dialogue.
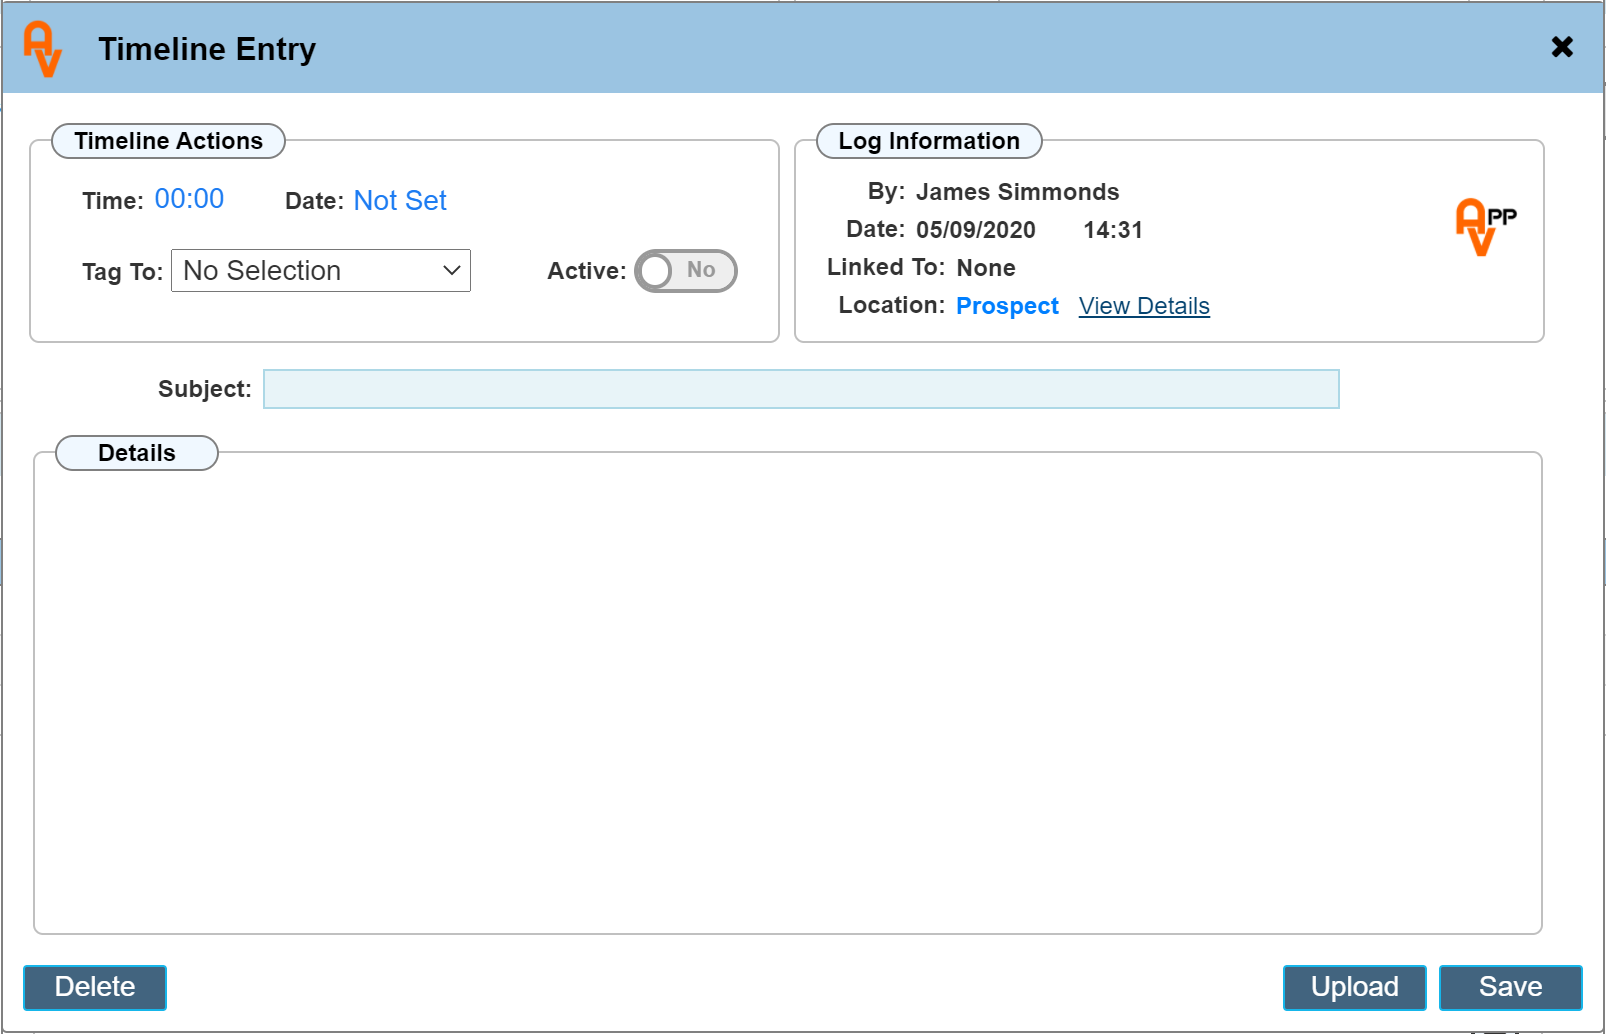
Enter the details of your contact conversation then save.
Once the timeline comment has been saved, the prospect window Timeline panel will display the first line of text, clicking it will re open the timeline dialogue for further editing if required.
Subsequent opening of the Prospect Dialogue will show the panel prefixed with numbers as in the example below.

The number in RED is 'How many days ago was this timeline entry created', the number in green is the 'Time' that the timeline entry was made.
This detail is also shown in the follow up grid when viewing on the diary page. See below example of the follow up grid, the Description column shows the last timeline entry made.
Each time a new Timeline entry is made, this will be shown in both the Prospect popup and the follow up grid.
|
Do not confuse Service Timeline entries with Sales Timeline entries. Both are separate. I.E. Creating a Service Timeline entry will not be shown in the Sales Prospect Dialogue.
|
A complete list of all Sales Timeline entries can be seen from the Site Record by clicking 'Sales Timeline' in the LH menu.
Sales Quotes
During the sales process, a quotation can be raised by visiting the Site Record, clicking 'Sales Quote' in the LH menu column, from there click the 'Add' button to create a quote. See the Site Record How To guide for further information or creating sales quotations.
Once a quotation has been created, the date and time this was created will be shown at the bottom of the Prospect Dialogue for easy reference. The quotation will also be listed within the 'Quotes' section on the Diary page by clicking 'Quotes' in the LH menu 'Sales' section.
|
Clicking the Re-Quote toggle will automatically cancel any options set for 'Won', Lost', 'N/A' etc
|
For more information on how the sales quote section works, see also the Diary - Sales Menu How To guide. This details how the quotations affect the way the lists are shown.
Below is a snippet example of the Prospect Dialogue showing the quote date / time;

In the above example, we can see that a quotation has been raised on the 05//09/2020 at 16:42 in the afternoon. If a quotation has never been raised for this client, the dialogue shows nothing in this section as you can see from the example at the top of this page.
If the 'Re-Quote' check box is ticked, the current date and time is automatically shown that indicates when a re-quote was requested.
This procedure
RH Tab Buttons
The Tab buttons on the RH side of the Prospect Dialogue are separated into 2 sections, the upper section is used to determine the outcome of the enquiry. I.E. has it been sold, Lost or Won.
The lower section buttons are dedicated to creating / completing an order for the sale once won.
See the grid below for a description of each button use.
 |
Won: Sale has been Won.
|
 |
Lost: Sale has been Lost. I.E. another company has won the order. |
 |
No Go: A sale is not possible, primarily because the customer requirement does not match a product that you sell, or the specification is not achievable.
|
 |
Not Applicable: No sale to be made. I.E. the customer is no longer interested in a purchase.
|
 |
Unknown: Use this as a catch all for anything that does not fit above. Often used when you can no longer contact the customer for update. |
 |
Cancel: Click this button to cancel all the above 'Sales' options if clicked in error. |
| |
|
 |
Order Progress: Open the 'Order Progress' dialogue. See the Order Progress How To guide for further information on this dialogue. |
 |
Order Received: Clicking this button will automatically enter today's date in the 'Order Received' panel of the 'Order Progress' dialogue. |
 |
Order Complete: Clicking this button will automatically enter today's date in the 'Order Complete' panel of the 'Order Progress' dialogue. |
|
Cancel: Click this button to cancel all the above 'Order Progress' options if clicked in error. |
Notes on the 'Won' button.
The 'Won' button is linked to the sales quotations section. When clicking the 'Won' button, should a 'Quotation' have previously been raised, the 'Winning Quote' check box within the Quote Editor will automatically be set.
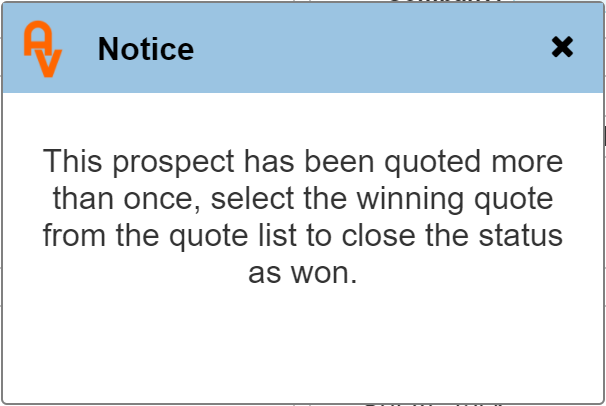
Should there be more than one quote, the winning quote check box will not be set due to there being a choice. The 'Won' toggle cannot be set at this stage because the winning quote must be selected from those that have been prepared. I.E. go to the quotes list and select the winning quote and toggle 'Winning Quote'.
An alert will detail this as shown below;
Notes on the 'Order Progress' (eye button)
On clicking the 'Eye' button, the order progress dialogue opens as below;
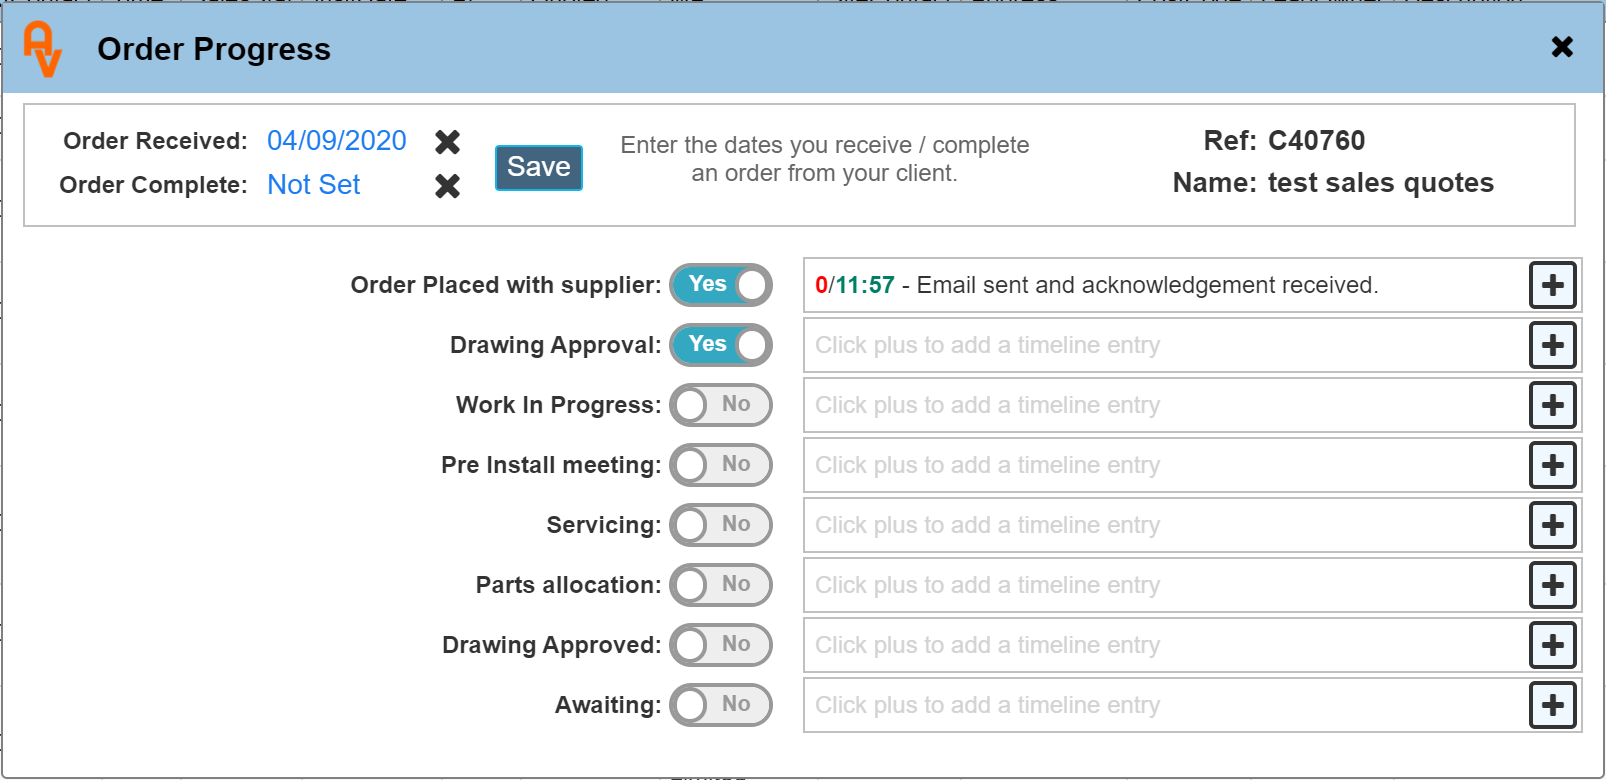
Order Received / Order Complete
Indicates when the order for your product was received, Order Complete indicated that the whole process has been completed / product dispatched. Opening this dialogue means you can specify any date, I.E. if you received the order a number of days ago, opening this dialogue allows you to specify the exact date as opposed to simply clicking the 'OR' button on the sales prospect dialogue which enters the current date.
Stage Toggles
The toggle options in the dialogue are created from a custom list of options that you can set in the 'Custom Values' section within 'Settings'. You may have as few or as many stages within the order progress. As each stage is reached, the toggle can be set indication this. In addition to toggling a switch once the stage has been reached, an optional timeline entry can be added the the stage detailing any information required. The red number is how many days ago the timeline entry was added, the green number is the time the entry was made.
Booking and Navigation
* Visible when on the Diary Page
At the very bottom of the Prospect Dialogue, a green button on the left, Book and Address.

Green Button
Clicking the green circle button will navigate directly to the Site Record associated with this sales prospect dialogue. This button is not visible if you are already in the Site Record. For instances where you have created a 'Project', this button will be orange, allowing you to navigate to the 'Company' record the Prospect dialogue is associated with.
Book
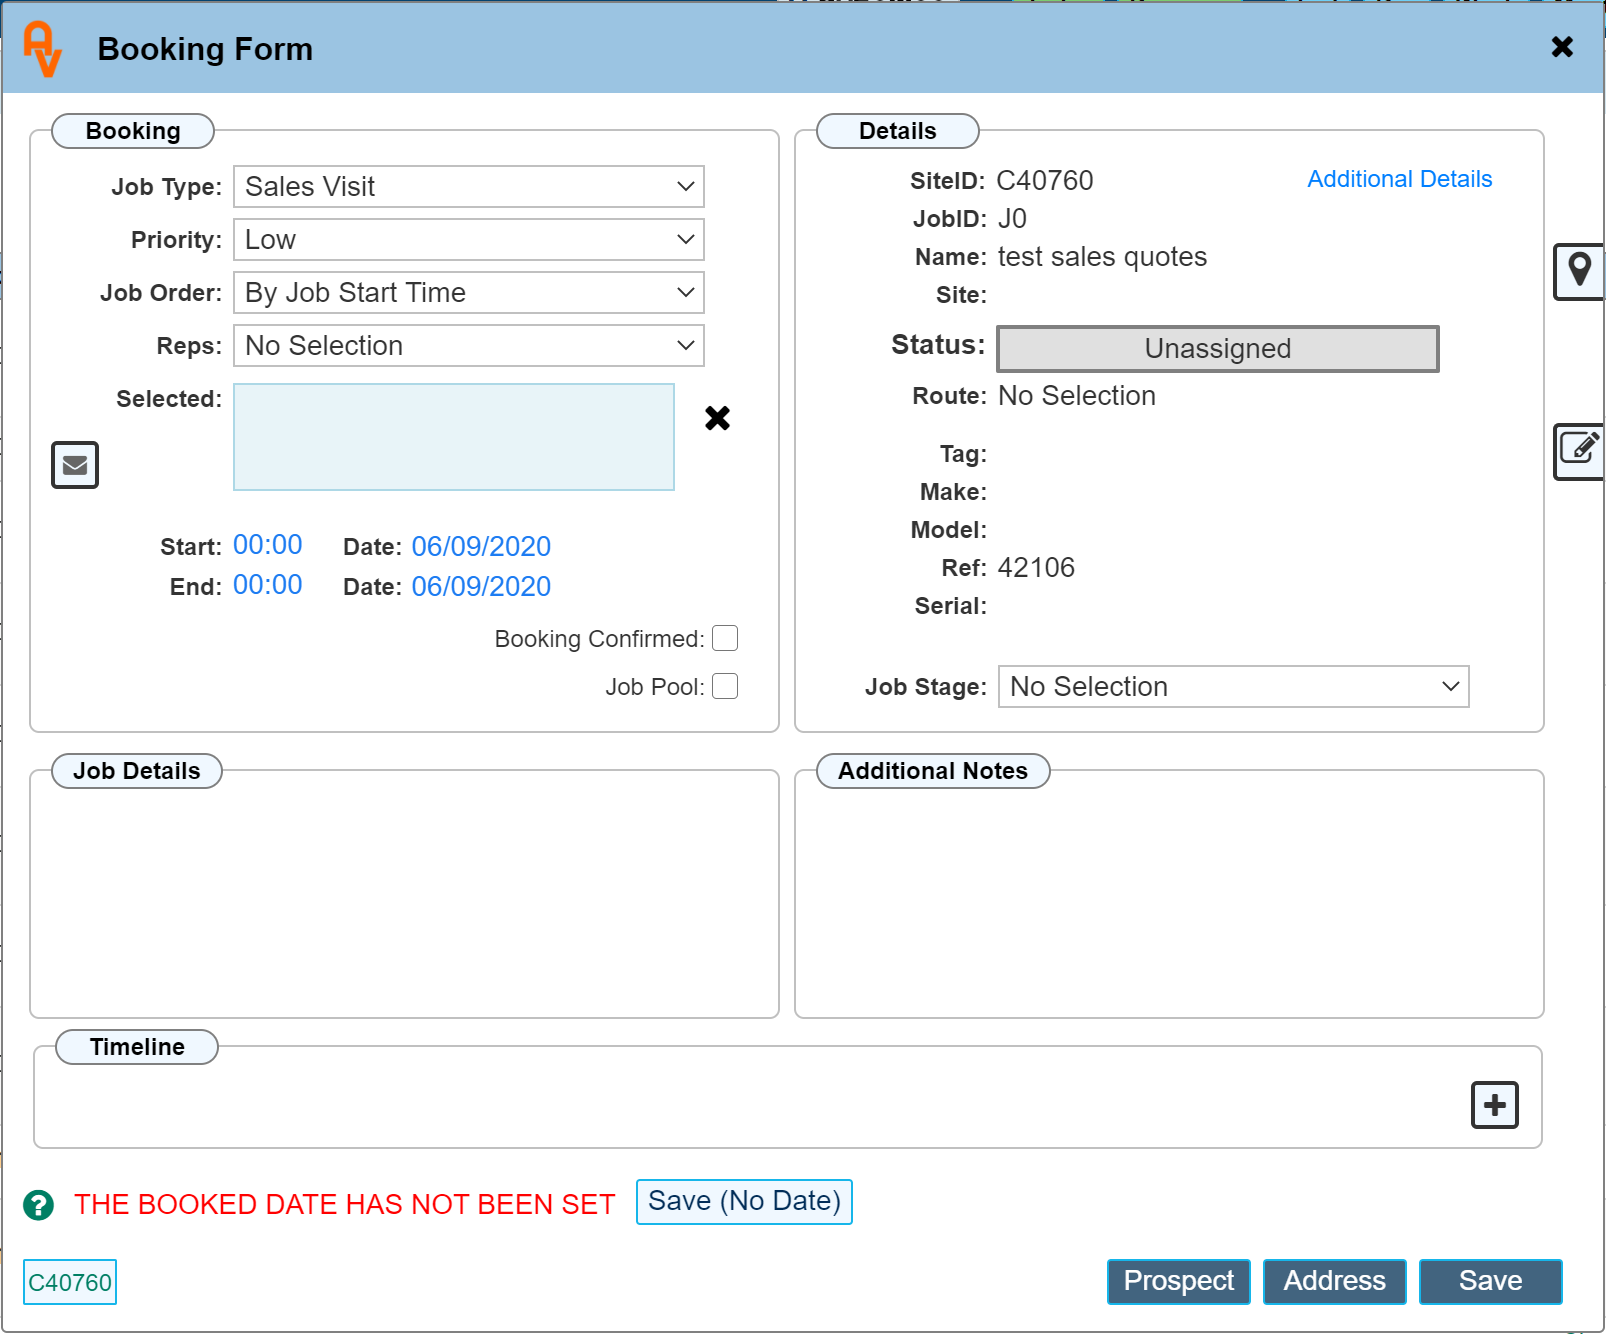
You may book a sales visit directly from the 'Prospect Dialogue' by clicking the 'Book' button. Once clicked, the booking dialogue will open as below.
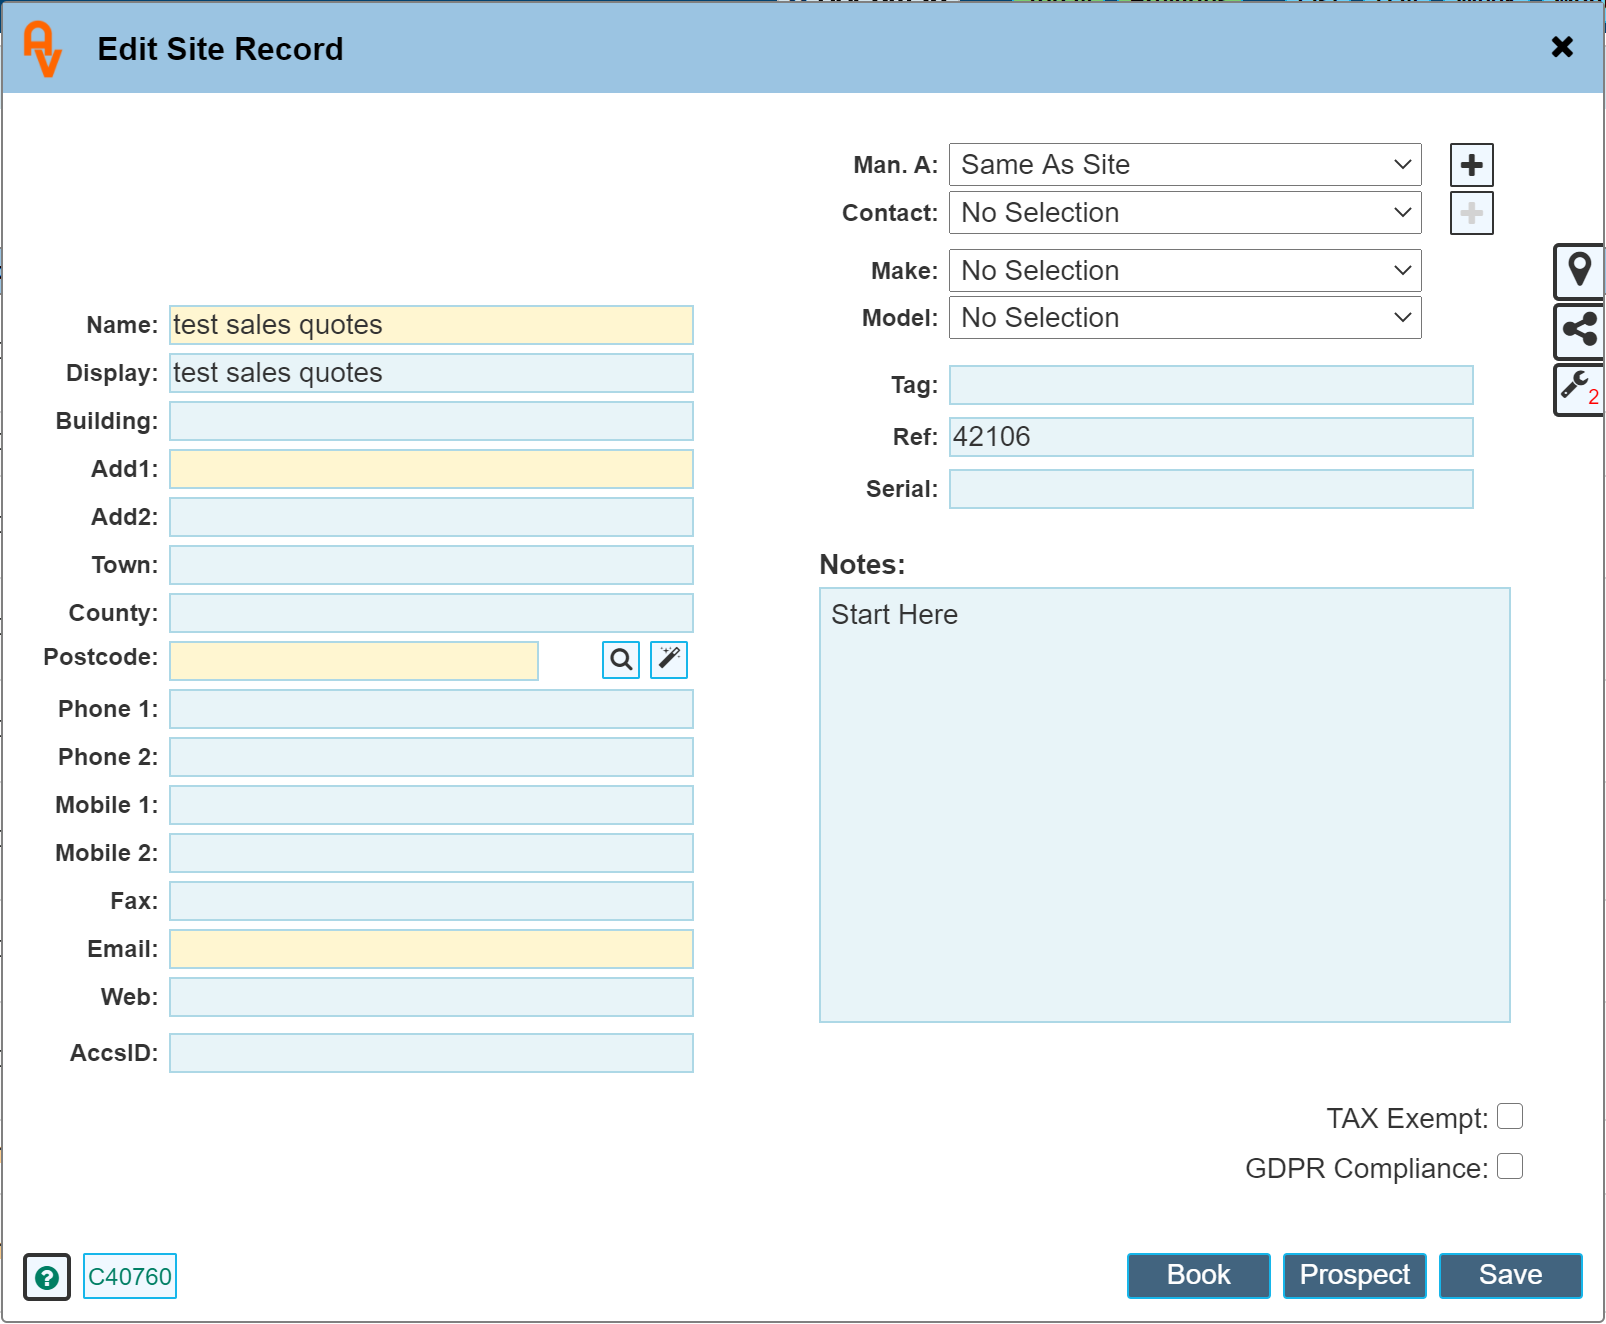
Address
Clicking the 'Address' button will open the site address dialogue for editing where necessary.