Introduction
The contract manager provides a robust and flexible solution for defining and managing service periods. You can precisely set the parameters for each service period, whether it extends over several years or just a few months. By saving each period as a separate contract, the system ensures that all historical information is preserved with every renewal, giving you a complete and auditable record of your service history.
A key feature of the system is automated contract renewal. This powerful tool allows you to automatically renew or update contracts with a single click. You have the flexibility to select one or multiple contracts to be renewed simultaneously. The system can be configured to automatically roll over a contract to the next period, update its terms, or even generate a new contract based on pre-defined templates. This saves you significant time and reduces the manual effort typically involved in managing contract lifecycles.
Furthermore, the contracts manager streamlines the scheduling of related work. Service and LOLER (Lifting Operations and Lifting Equipment Regulations) jobs can be automatically created simply by checking a box for a specific month. These jobs are then seamlessly integrated into your workflow, ready to be completed by your engineers as part of a planned service route or allocated directly by your office staff.
On the Site Record, the Contract Management details are displayed in the centre panel.
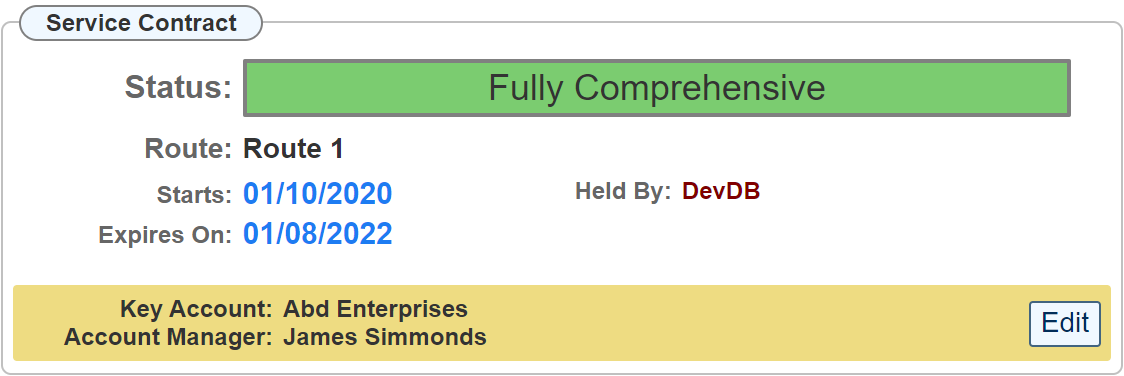
Clicking on one of the dates will open the Contract Manager dialogue.
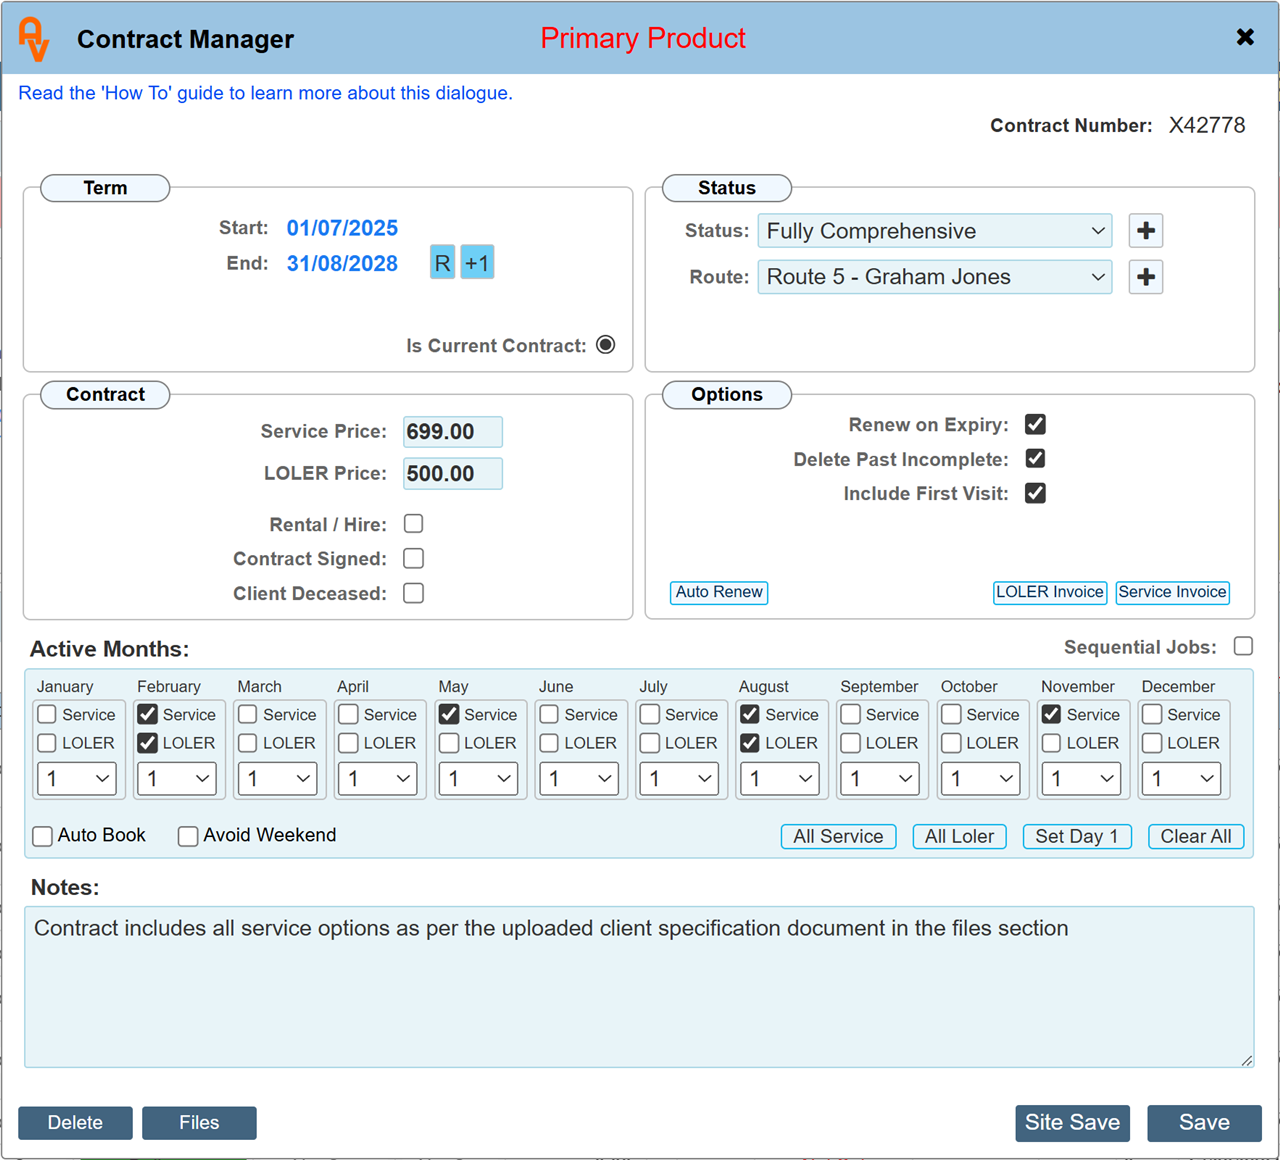
Setting the values
Status
By default, the only values in this list are 'Undefined', 'Cancelled / Terminated', and 'On Hold'. You can add your own service contract names to this list by going to Custom Values in the settings. From there, you can enter your own contract names and assign a corresponding screen colour.
Every new contract is initially set to 'Undefined'. Once you add your own contract names in the Custom Values section, they will become available for you to select.
The 'Cancelled / Terminated' option allows you to indicate that a customer has ended their contract early. This lets you keep the original dates and any other settings that were in place. You can then run a report on this status to see how many contracts were cancelled within a certain period. When a contract is set to 'Cancelled / Terminated', its associated service visits are suspended from the mobile app's 'Service Route'.
The 'On Hold' option allows you to temporarily suspend a contract. You can run reports on this status to determine how many contracts have been placed on hold during a specific period. While a contract is 'On Hold', its associated service visits are also suspended from the mobile app's 'Service Route'.
Route
Each site product can be assigned to a specific Service Route or engineer. Just like with contract names, you can set these routes up in the Custom Values section. Service routes allow you to assign multiple service jobs to one engineer, who can then view and complete them on their mobile app.
Start / Expiry
The Start and Expiry dates define the full duration of the contract, which can range from a few months to several years. Clicking on these dates opens a calendar, allowing you to select the correct date. Remember to click on the actual day number to input the date onto the main page.
To prevent date conflicts, always set the start date first. If you set the end date before the start date, the system will overwrite the start date value to ensure the end date is not earlier.
PLEASE NOTE: All service visits between the two dates you provide will be created in your job history, including visits from past dates. If you want to prevent past, incomplete visits from being created, check the 'Delete Past Incomplete' box. This will remove all incomplete service visits from the past, though completed visits will remain in the system.
R +1 buttons

The two buttons, 'R' and '+1', only affect the expiry date. When you first enter a start date, the expiry date will automatically default to 'Plus one year'. Clicking the 'R' button will reset the expiry date to the start date plus one year. The '+1' button adds a further year to the expiry date with each click.
Simply put, if you get confused with the dates, the 'R' button resets the date, and the '+1' button allows you to add the correct number of years.
Insurance Paid
This is an optional field that allows you to record the date your customer paid for the contract.
Service Price
Record the total value of the service contract.
LOLER Price
Record the total value of the LOLER contract.
Is Current Contract
Each contract period is defined as a separate contract to preserve its details. When a new contract is created after one expires, this radio button for the new period will be automatically selected. If you need to manually change this, open the contract you want to make current and check the box. You cannot deselect a contract to have no current contract; you must choose which one you want to be the current one.
Renew on Expiry
At the end of a contract period, this toggle allows the current product to be included in an automated, site-wide renewal process. For more details, please see the guide titled 'Contract Management - Auto Renew'.
Rental / Hire
This option provides an additional dialogue where you can record all rental and hire activity.
Please note: If you want to include automated service entries for a rental product, you must set the start and end dates for the contract period and include any required service months.
The contract end date can be used as a flag to indicate a contract review point. For example, since the product is a rental item, you can use the contract end date to set a point in time to review the contract's terms or decide if the product is still suitable for use.
Exclude Past Incomplete
By default, all service visits between the start and end date will be added to the system. If you have added the contract part way through a contract and do not require the past uncompleted service visits to be shown, toggling this switch will automatically remove them.
Include First Service
When a product is first supplied, the initial service visit is typically not carried out on the same day the contract begins. Because the system considers the product "serviced on supply", it automatically skips the first scheduled renewal.
Alternatively, if you are adding a service contract to a product that is already in use, you may need to show the first visit.
Deceased
When a product is used by a private individual, you can indicate that they are deceased. This is useful for preventing any further contact.
Is Contract (Option if Automated Invoicing is not used)
When a ticket doesn't have the 'Invoice not required' flag set, the system will automatically flag it as needing an invoice. However, for a 'Service' or 'LOLER' type job ticket, toggling the 'Is Contract' flag prevents this from happening. This is typically used when the service payment is already covered by a single, separate contract invoice, often for the first visit in a series. The system will then only flag it for invoicing if you specifically set the 'Ready For Invoice' toggle.
|
By setting the 'Ready For Invoice' flag means that even though the Service Job was part of a Service Contract, you have indicated that additional works over and above the inclusive costs of the Service Contract have been incurred and an additional invoice is required for that particular visit.
|
Invoice Created (Option if Automated Invoicing is not used)
This setting lets you tell the system that an invoice has been issued for the contract. You can either set this manually by ticking the box yourself, or the system can set it automatically when you create an invoice from a service job ticket related to the contract. See below for more information.
Sequential Jobs
Selecting a Sequential Jobs contract means your client will continue to pay a renewal fee until either party cancels. The start date is when the agreement began, and the expiry date is the date you'd like to review the contract.
When you check the Sequential Jobs box, a drop-down list appears that lets you control how the system automatically creates service visits.
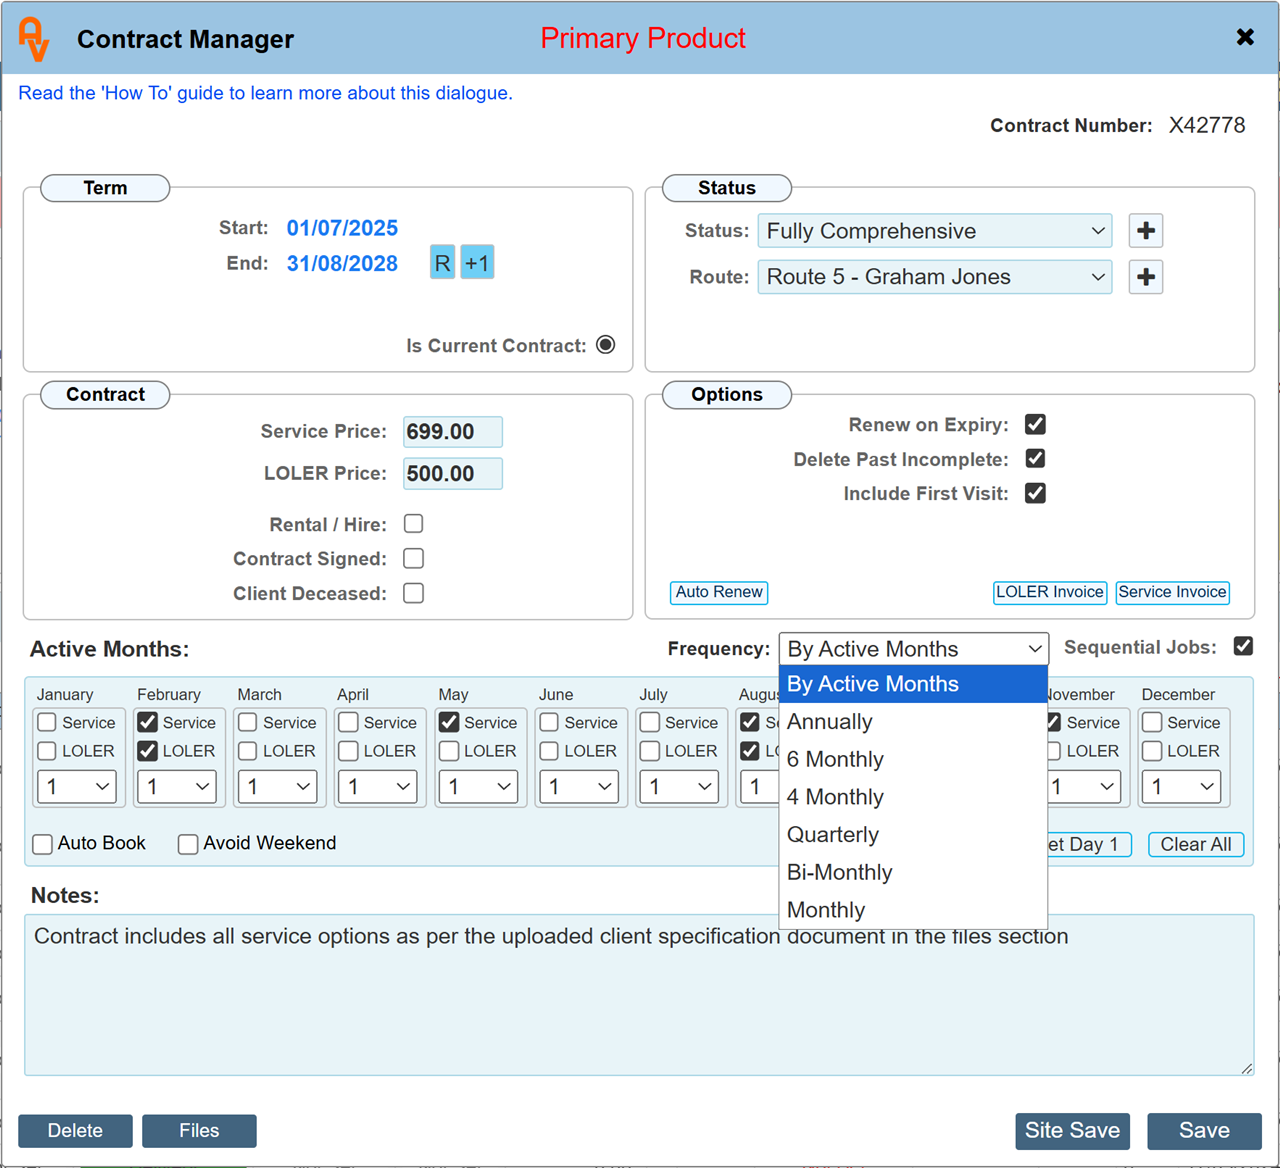
Left at the default state, 'By Active Months' automatically generates all Service and LOLER visits between the contract's start and expiry dates. Selecting any of the other options changes this method, so each new visit is only created after the previous one is completed. The next due date will be exactly the selected period after the completion of the last visit.
The first visit is based on the contract start date and will be scheduled for the selected period in the future. However, if the 'Include First Service' box is ticked, the first service and or LOLER will be on the exact start date. If the start date is too far in the past to meet the selected frequency, today's date will be used instead (though this can be edited if needed).
Each time a visit is completed, the next one will be automatically generated until the expiry date is reached.
|
A new visit will be created based on the last completion date, with a due date set for the selected frequency in the future.
|
Active Months selection is greyed out while using the Sequential Jobs option combined with any frequency selection other than 'By Service Month'
Active Months
You can select any or all of the months covered by the contract. Just tick the appropriate months, and a service and/or LOLER job ticket will be created if they fall within the dates you have set.
Use the day drop-down list to select the specific day of the month when a service visit is due.
This is helpful if a contract starts partway through a month, but you want all future visits to be scheduled for a consistent day, such as the 1st of each month. It ensures that regardless of the initial start date, the service is always due on the same day for every subsequent month of the contract.
Notes
Any additional notes about this contract can be recorded here.
Delete
You can delete a contract completely, but not if it's currently active. Clicking this option for an active contract will only reset its parameters. You can only fully delete contracts that are no longer the 'currently active contract'.
Files
Any documentation can be uploaded here. This may be contract documents from your customer or those created by you.
Save
When you save the form, the Service/LOLER job tickets will be added to your job history as 'Non Booked' jobs. These jobs will become visible on the main diary page or the engineer's app up to 30 days before their due date.
If a job isn't completed by its due date, it will continue to be visible until it's done. However, if a visit is missed for an entire year, it will no longer be shown once the new visit for the following year is generated. You can also find these jobs on a service route when they're due or by clicking the 'Service' or 'LOLER' tab in the left-hand menu.
|
It is Important to Note
All automatically generated visits will include a contract description and a due date.
If you edit this description to add new information, the system will no longer automatically update or delete the visit. For example, if you initially create 12 monthly visits and then change it to 6, the system will automatically adjust the number of visits. However, any visits with an edited description will not be overwritten with the new details. This is to prevent accidentally overwriting bespoke visit details.
|
Creating a New Service Contract
Click the 'Service Contract' tab shown in the LH menu when on the site record.
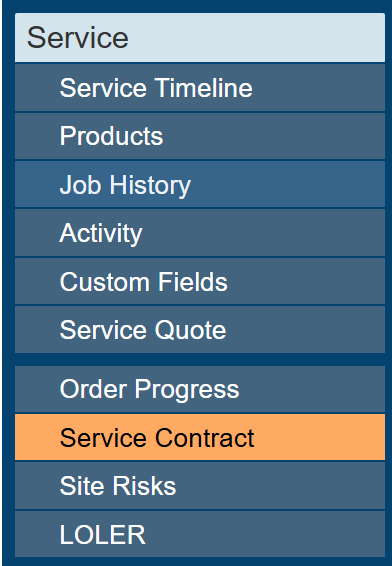
This will open a table that shows your current service contracts. Any details from the active contract will be visible in the grid. As you add new contracts, each one will be recorded here, and you can select and review its details at any time.
The 'Current' column identifies which contract is active. The active contract is the one used in your regular reports to determine due dates and other information.

Clicking 'Add' will open a new Contract Manager dialogue.
A new contract will not be active until you open it, select the 'Is Current Contract' toggle, and save your changes.
New contracts and their associated job tickets are kept separate and will not interfere with jobs from other contracts. This means that saving a new contract will not affect any incomplete past job tickets.
Contract Expired
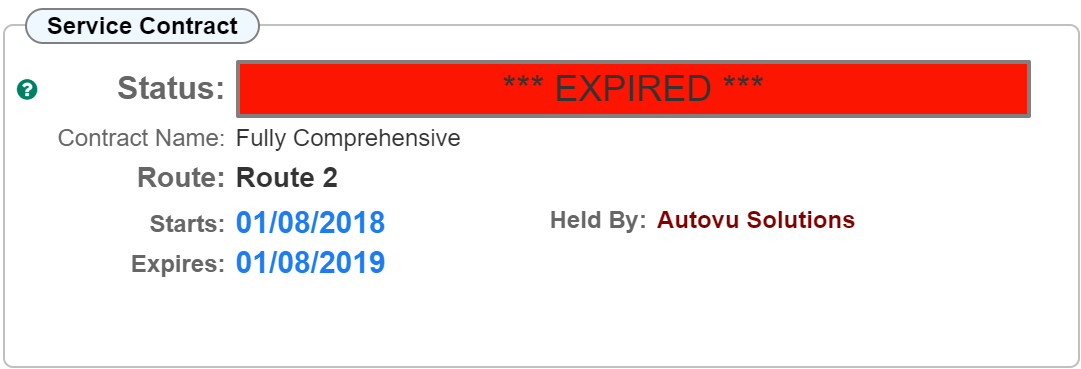
When a contract goes past its expiry date, the Status will turn to red with the words 'EXPIRED' displayed. (this also shows on the service engineers app if the job was specifically booked for him out of contract period) This is a very visual indicator that any agreements on what this contract contained have now expired. The original name of the contract is shown underneath the status.
Contract Cancelled
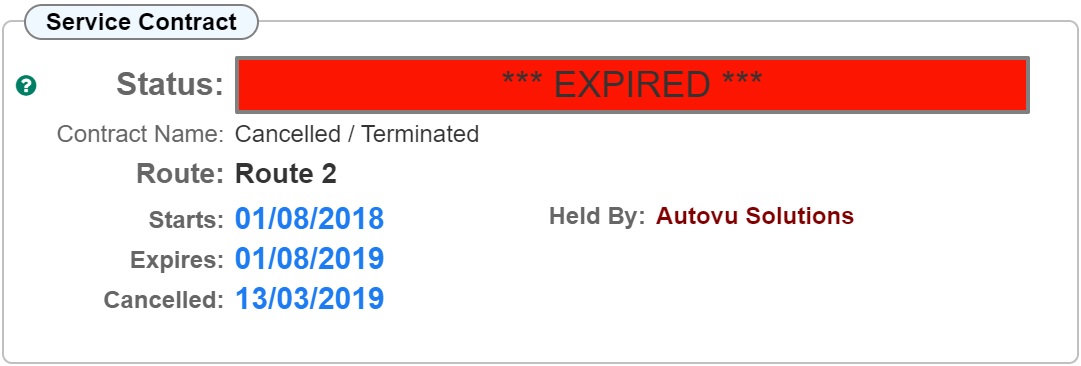
When you or the customer cancels / terminates a contract early, the 'Cancelled / Terminated' option can be selected within the 'Status' drop down. Utilising this option allows you to report on 'Cancelled / Terminated contracts. The words 'Cancelled / Terminated' will appear in the status column. Please note: The words 'Cancelled / Terminated' will only show while the contract is actually still within its contract period, once it expires, the 'Expired' flag will then show. However, the original status 'Cancelled / Terminated' is still shown within the Contract Name field. (See the second image).
The date the contract was cancelled as shown below can be set within the Contract Manager dialogue. This will become visible after setting the 'Cancelled / Terminated' option.
|
If there's a recurring invoice set up for this service or LOLER contract, this will stop any future invoices from being created.
|
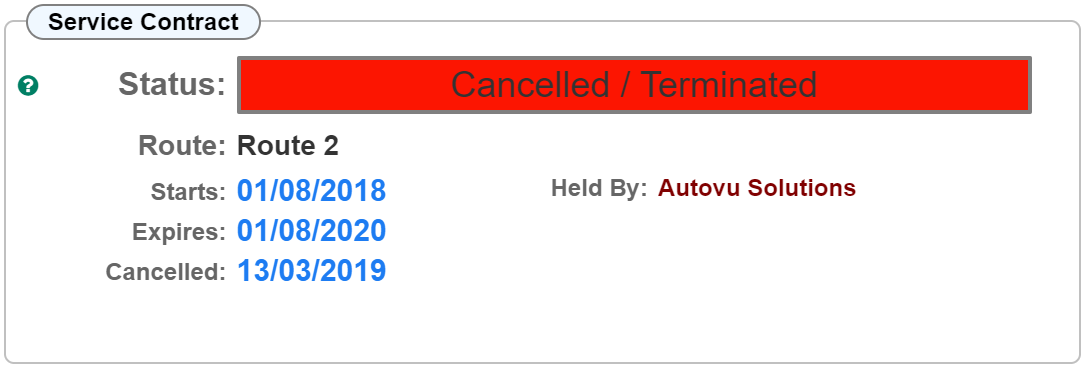
Image showing a cancelled contract that has now also expired its contract term.
PLEASE NOTE: Once the Cancelled / Terminated option has been set, the relevant service visits will be removed from the service engineers app and also from the 'Service' tab on the LH diary menu.
The service visits will remain in the job history as outstanding.
Invoice Created
(Option if Automated Invoicing is not used)
The invoice created toggle can either be manually set (for invoicing prepared outside of Workforce Manager) alternatively, this will be automatically set via a 'Service Job Ticket' related to this contract.
To have this toggle automatically set, the invoice must be prepared from a linked 'Job Ticket' that has been created as part of the contract. I.E. go to one of the automatically generated service visits then click the 'Invoicing' button shown in the LH menu, then click 'Add'. You will then be able to create a 'Linked' invoice.
Automated Invoicing (recommended)
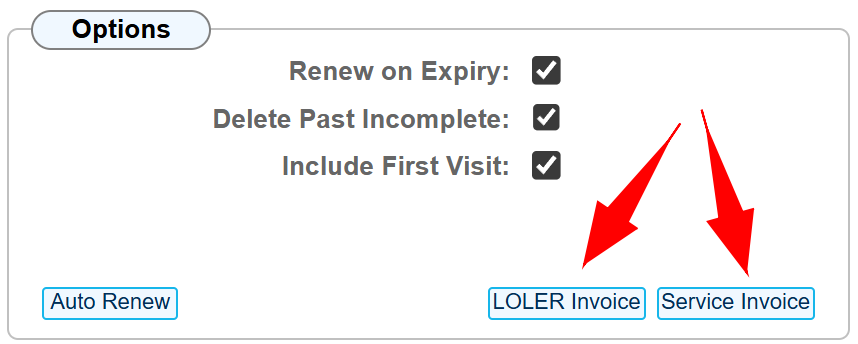
These options are the preferred method for invoicing a service or LOLER contract, whether it's a single, one-off invoice or one that's spread out over time. See the separate "How To" guide for more details.
Auto Renew
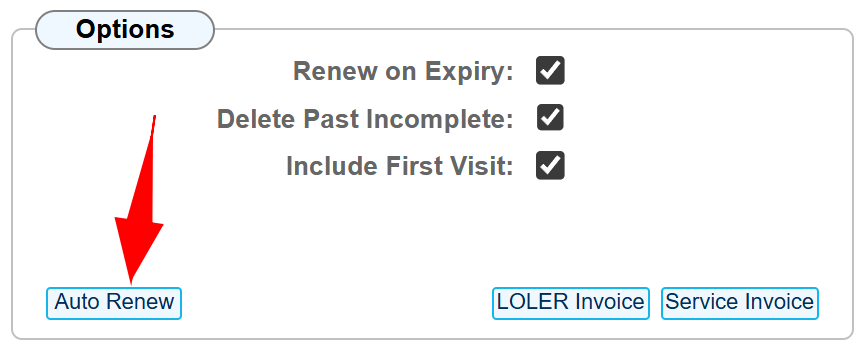
When a contract expires, Workforce Manager can automatically renew it using the current settings. This renewal can also include any or all other products on the same site that have a matching status and contract term. See the separate "How To" guide for more details.
Site Save
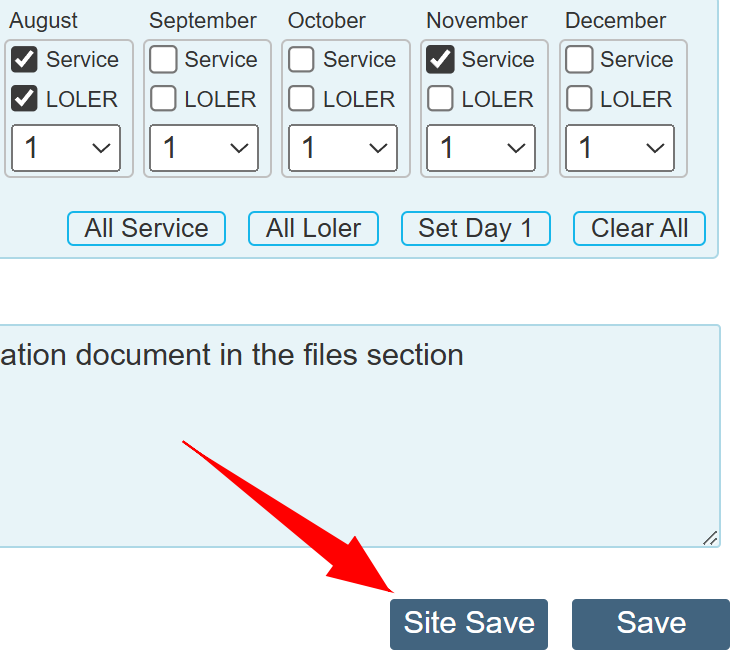
'Site Save' works similarly to auto-renew. However, instead of creating a renewal contract, it enables you to make minor adjustments to contract details across all relevant products. See the separate "How To" guide for more details.
Contracts Maintained by Others
Where a service contract is provided, but the visits are conducted by another company can be recorded within the 'Held By' section.
An example of this as follows;
- A client bought a product from you with a five year warranty
- You purchased this product from a company that offers 12 months comprehensive warranty
- In the first year, the Supplier / Manufacturer would cover all call outs
- Second and subsequent years you would cover the contract yourself
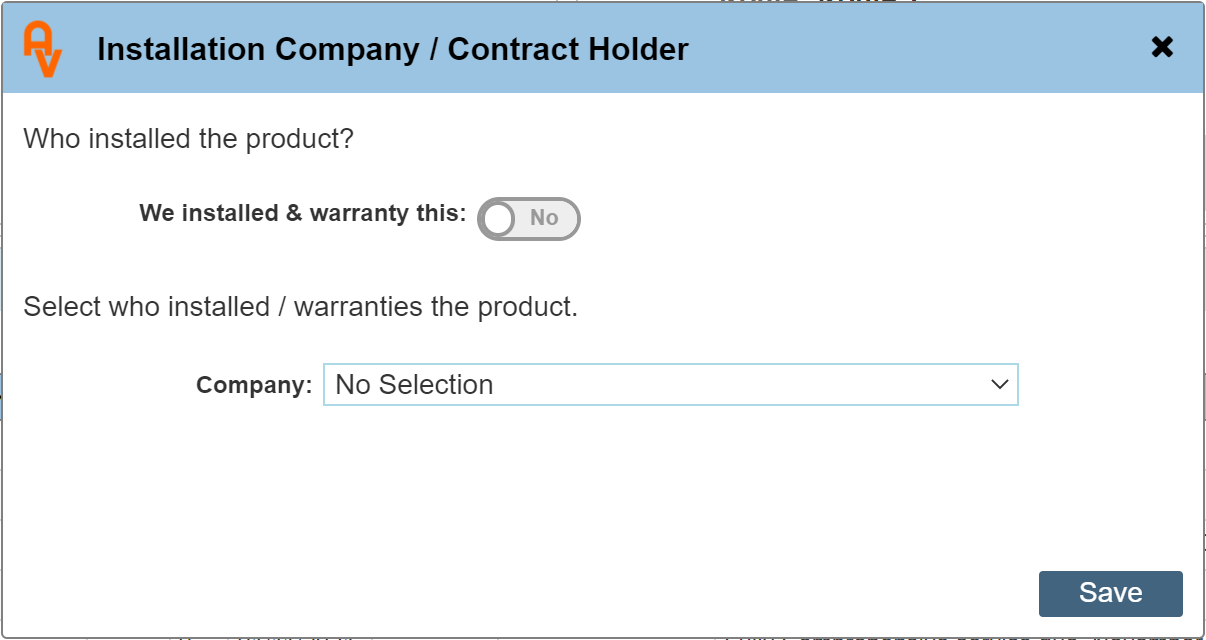
In the Service contract dialogue, click the company name as indicated in the image below.
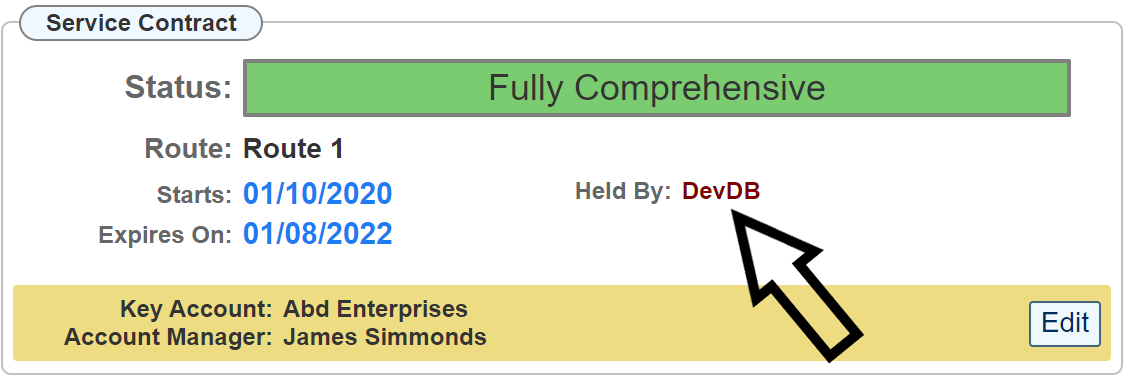
The default setting is that you Installed / Warranty the product.
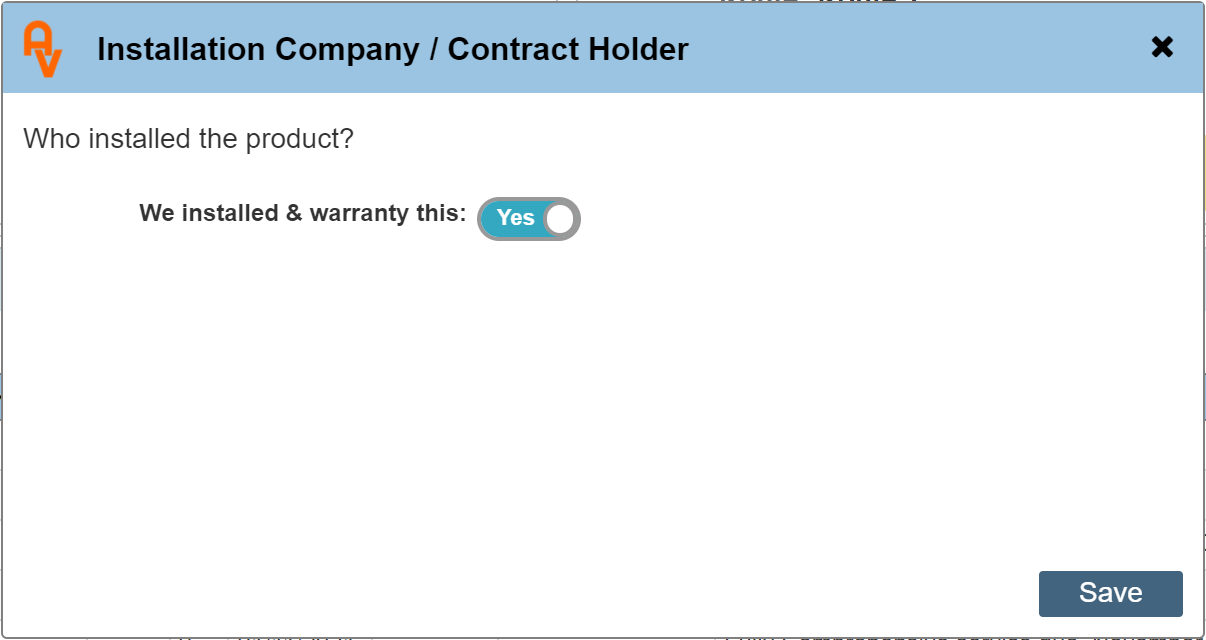
Toggle the switch to 'No' will open up a drop down list enabling you to select the company that Installed / Warranties the product.
Once a Company has been selected, it is then possible to record the period of warranty by selecting their warranty expiry date.
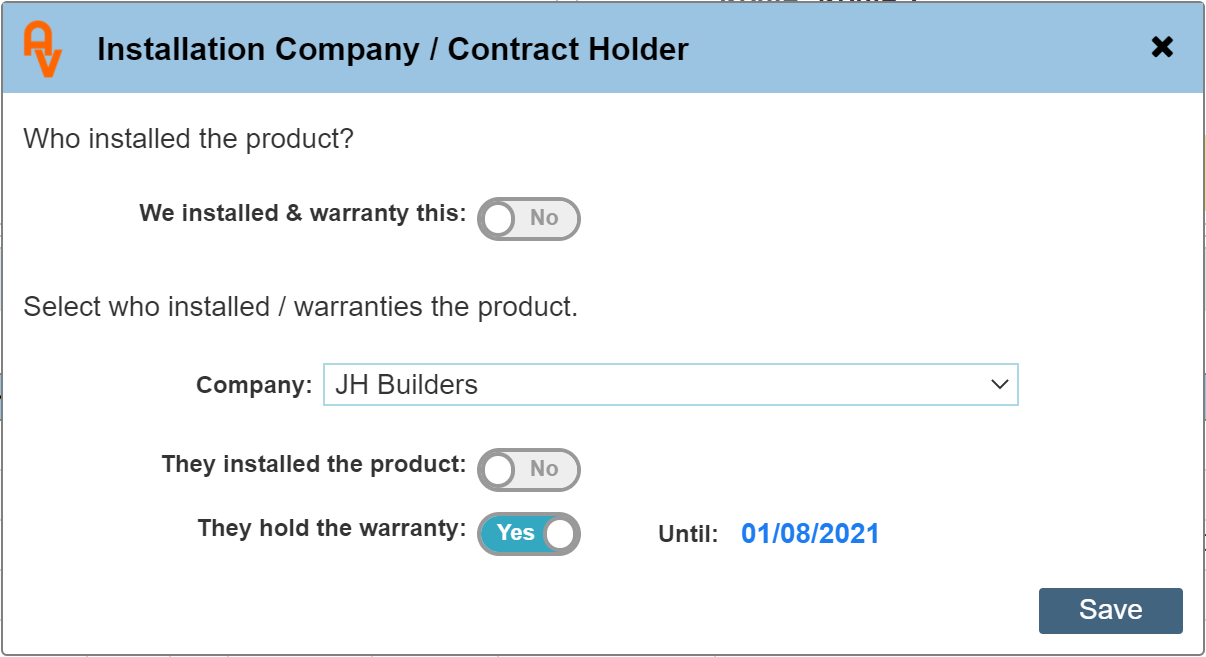
On clicking 'Save' the details will be recorded within the contract panel.

Key Accounts
See the separate How To guide on Key Accounts here.